Why do sprouting seeds mean happy chickens? I spill the beans!
Ever spent lots of your hard-earned cash on yummy treats for your chickens?
Of course you have! Corn, grapes and watermelon in the summer, oats and fish in the winter - we all do it.
Our girls are definitely worth the best chicken feed there is!
But I'm here to tell you there's no need to spend a fortune.
A little time, a little care and no matter what the weather you can have a huge bowlful of inexpensive, nutritious treats for your chickens that they'll love, love, love you for!
How? By making your own sprouting seeds!
Which seeds are good for sprouting?
The easiest, quickest and least expensive are lentils, and they're the ones I make most often for my girls (and boys), together with mung beans.
They're fast to sprout, don't go mouldy and everyone who's ever been in my flock has always loved them (with the exception of one particularly picky hen, Henrietta).
Choose green or brown lentils for the best sprouts. Red lentils will also grow, but not as well in my experience.
And don't buy split lentils - they won't sprout at all. You need to make sure you buy the full seeds.
For more information about lentils and why they're so good for chickens – plus a warm lentil recipe for winter months – see this article.
Other seeds which are great for sprouting are mung, alfalfa and mustard.
Sunflower seeds are a favourite too but they take longer - about ten days - and they need washing well or they tend to go mouldy. In my experience, sunflowers are best fed whole.
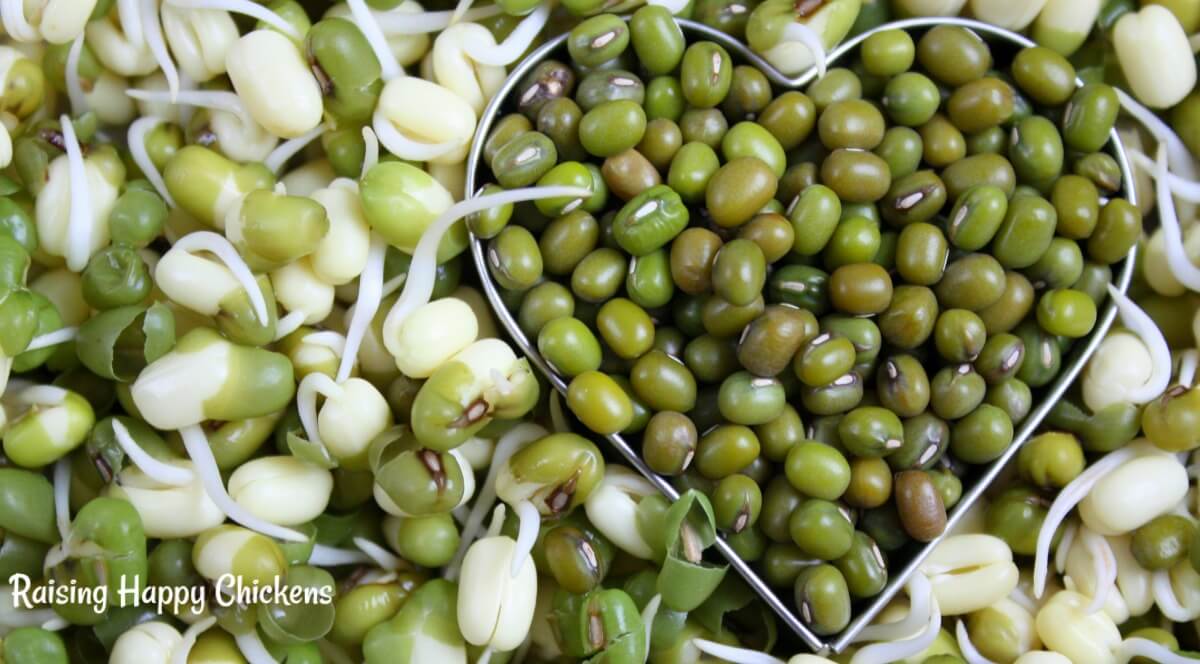 Mung beans are a great choice for sprouting.
You can also buy a good quality mixed bird seed and use that if you want to give your flock a bit of variety.
Whichever you choose, try to buy organic, non-GMO seeds. They've not been subjected to pesticides and the fewer chemicals going into your girls the better. It's best both for their health and for the quality of the eggs they give your family.
Whatever you do, do not use dried beans for sprouting. They need to be well cooked if you're feeding them to your flock.
If you want to know why, take a look at this link (which will open in a new window so you don't lose your place here).
Sprouting seeds for the best results is not difficult. Let's get started.
Sprouting seeds: step 1.
If you purchase a product through links on the rest of this page, I receive a small commission at no extra cost to you. I only recommend products I have purchased or would purchase myself and which I believe would benefit you. To learn more please see my disclosure policy.
It's so easy, you'll wonder why you haven't done it before. I use a cup of lentils at a time, which keeps twelve chickens very happy for at least two days.
The finished sprouts will keep in the fridge for several days if you don't want to use them all at once.
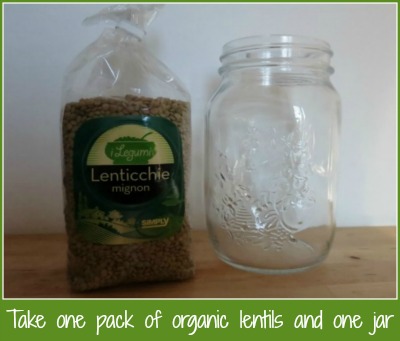
Firstly, wash your seeds thoroughly. I use a sieve and run ordinary tap water through them for a few minutes.
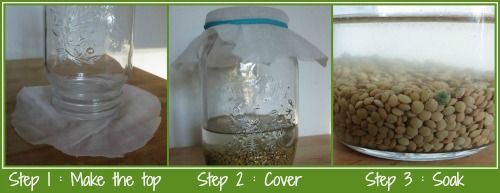
Then, put them into a large bowl to soak. Cover with water and allow an extra couple of inches of water on top.
They will need to stand for around eight hours for smaller seeds like lentils, up to twelve hours if you're using larger seeds like sunflowers. It's a good idea to rinse them and change the water once during this soaking process.
At the end of the soaking time you'll find they have swollen in size. Now they're ready to start sprouting.
Sprouting seeds: step 2.
Now drain, rinse well and drain again. Put the still wet seeds into a jar or bowl and cover it with a piece of light cloth. I use some old net curtains (washed, obviously!) cut to size and tied with an elastic band.
You can buy special containers but it's really not necessary and it adds to the cost.
One thing I do find useful, though, is this stand - otherwise I end up having to prop the jars against the wall (or on the dish drainer rack - see the photo below! - which has ended up in more than one mishap...
However you do it, tip your soon-to-be sprouts on their side so that any excess water drains away.
This is important because if they're too wet they'll grow mouldy - and mouldy food can be fatal to chickens. Find out why here.
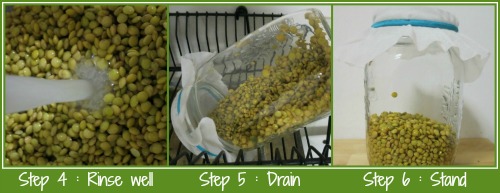
Leave them like this until the excess water has drained away and then let them stand, still damp but not soaking wet, for eight or nine hours.
Sprouting seeds: step 3.
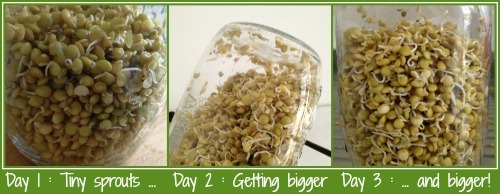
Now you just have to remember to rinse and repeat twice a day for the next few days. I get into a habit of rinsing every morning when I'm making coffee and every evening when we're making dinner.
I do it by emptying the pot of seeds into a mesh sieve, rinsing them under running water, putting them back into the jar and leaving to drain again.
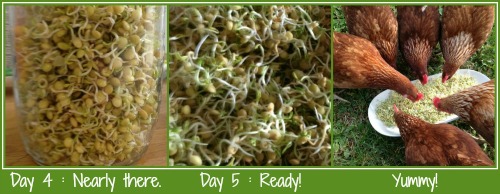
After four or five days, when the sprouts are quite long and beginning to grow leaves, they're ready for the girls to get their beaks into.
It really is that simple.
Not convinced? Here are just a few benefits of sprouting seeds for your flock.
See the resources section for further reading and information about where these facts came from.
- Sprouts are a great source of antioxidants which strengthen the immune system.
- Excellent source of vitamins - each sprouted lentil has over 100% more vitamins than the lentil itself.
- In particular, sprouts of both lentils and mung beans are very high in folate, one of the Vitamin 'B' complex. Chickens are particularly susceptible to low folate levels and a lack in hens can be the cause of embryos from their eggs dying very late in incubation(1).
- Very high in protein - one cup of sprouting lentils has almost 7 grammes.
- Your chickens won't get chunky on these sprout treats - there is less than 0.5 grammes of fat per cup.
And if you have some leftovers, try them yourself - sprouting seeds are just as good for humans!
Want to start sprouting but don't have the equipment?
It's more cost-effective to buy equipment and seeds for sprouting locally. Your feed store should have everything you need.
However, if you can't buy locally and prefer to use a reliable online source, this is all the equipment you'll need to start your own little sprouting seeds factory.
Want to know more about what foods work well for chickens?
Try these pages - click the pic!
Sources.
A lot of "facts" you'll find on the internet are often people's individual views, based on inaccurate information repeated from poor quality sources.
The information I provide in this article and others is based not just on my own experience, but on evidenced facts from scientific, peer-reviewed research and books from highly respected and experienced poultry keepers such as Gail Damerow.
Some of the trusted sources I have used in this article are these.
1. Signs of nutritional deficiencies in chickens and turkeys. Pub National Academies of Sciences and Medicine, 2017.
2. Ryu et al: The folic acid requirements of starting broiler chicks fed diets based on practical ingredients. Pub. US National Library of Medicine, 1995.
3. Chandler, B: The nutritional benefits of sprouted lentils. Pub Livestrong, 2016.
4. Department of Agriculture National Nutrient Database.
