- Home
- Egg recipes
- Easter bread
An Authentic Italian Easter Bread Recipe:
delicious at any time of year!
Easter in Italy is an amazing time of year, and the Easter dinner table is equally as important here as Christmas.
It's a time when families come together to share good food and good company. And one of the most traditional of recipes throughout Italy is 'Pane di Pasqua' - Easter bread.
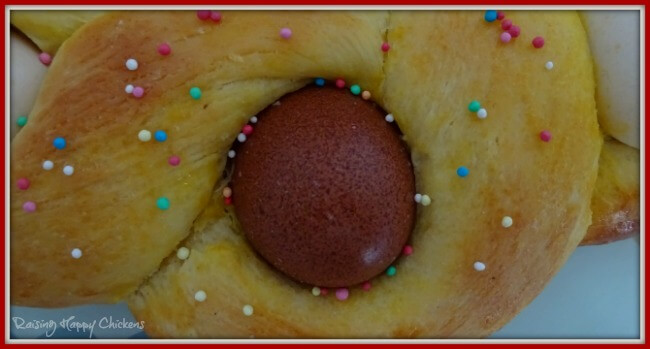
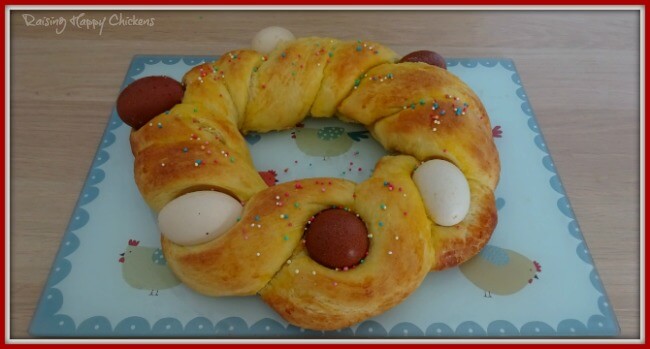
This recipe was given to me by one of our Italian friends. It's just sweet enough, with an added tang of lemon to give it a little extra 'oomph'. The eggs are cooked in the bread and the whole thing makes for a stunning centrepiece - or make an individual bread for each table setting.
It's also used for the traditional Italian picnic on Easter Monday (known as 'Pasquetta', or 'Little Easter') - easy to carry, easy to share with friends. It's a bit like a 'tear and share' bread - just make sure you include enough eggs to go round!
Italian Easter bread recipe : ingredients.
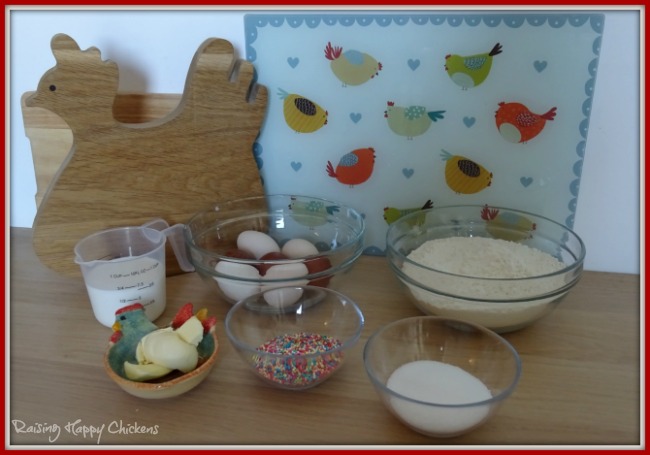
There are a few possible variations on a theme, but these are the most often used ingredients in the part of rural Italy where we live.
- 4 cups (500 grammes) all purpose (UK plain) flour
- ¼ cup (35 grammes) sugar (you can use more if you've got a really sweet tooth - ½ cup (about 65 - 70 grammes) works well)
- 1 sachet (normally ¼ oz / 7 grammes) dried yeast OR 15 grammes fresh yeast
- 1 teaspoon salt
- ⅔ cup (150 mls) milk (the recipe calls for full fat; I tend to use semi-skimmed)
- 2 tablespoons (30 grammes) butter (and a small amount of butter for brushing)
- 2 eggs for the dough
- Zest and juice of 1 lemon (if you prefer less tangy, reduce the zest to half)
- 6 eggs to decorate (if using fresh eggs)
- A tablespoon of sugar for the final glaze (optional)
- Sprinkles to decorate (again these are optional)
Italian Easter bread : How to make it.
A word about yeast : I use fresh yeast - dried is very expensive here - but either will work. Just take note of the slightly different methods depending on which one you're using.
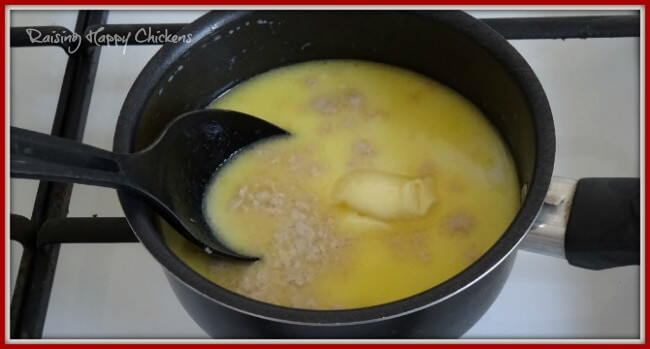
If you're using fresh yeast :
Put the milk, butter, sugar and yeast into a small saucepan and warm gently until the butter has melted and you can't see any more lumps of yeast. Be patient - don't overheat it or you will kill the yeast.
Combine 1 cup of flour, the lemon zest and salt in a large mixing bowl.
If you're using dried yeast :
Warm the milk and butter together in a saucepan
Combine 1 cup flour, the sugar, lemon zest, salt and yeast together in a large mixing bowl.
For both :
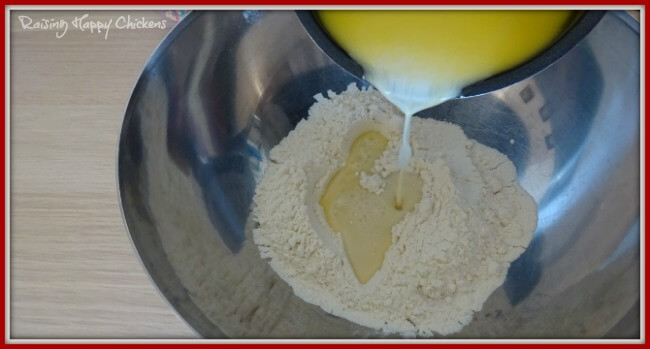
Add the milk mixture very slowly to the bowl, beating as it goes in.
Add in the lemon juice, continuing to beat.
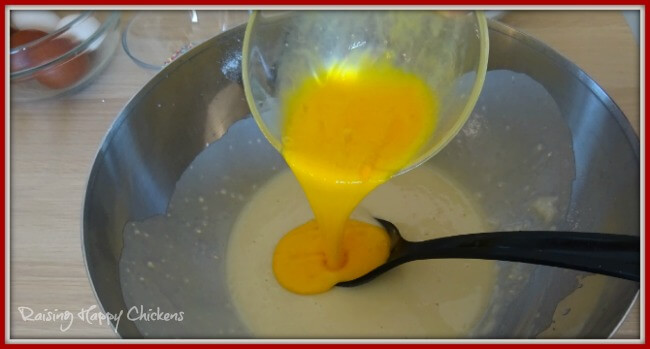
Beat two of the eggs in a separate cup; add to the flour mix, still beating.
Now add the remaining flour a little at a time, beating so as to avoid lumps in the mix.
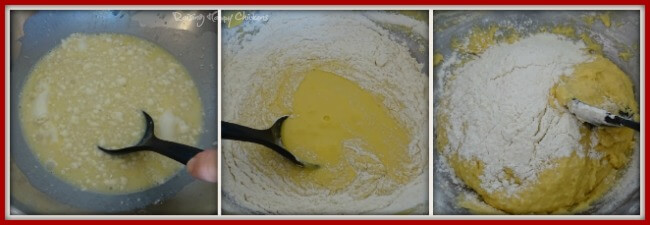 Don't worry if you have lumps at first - constant beating will remove them as the dough becomes firmer.
Italian Easter bread : kneading the dough.
Once the liquid has been combined with the flour it's time to turn it out onto the work surface.
Make sure your surface is lightly floured - but don't add more flour into the mix or the finished product will be dry.
Turn the dough onto your work surface. It will seem very wet at this point but don't worry - kneading will change that.
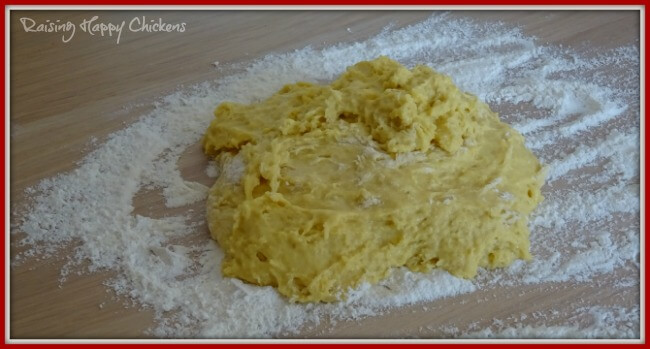
Knead the mixture for about four or five minutes, until it becomes smooth, elastic and no longer sticky. Don't overdo it - stop when it looks like this.
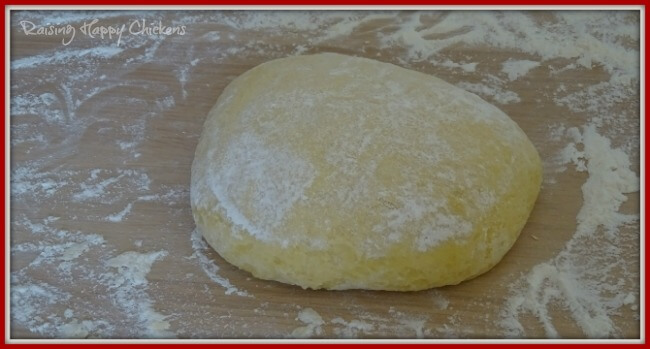
Now put it into a lightly greased bowl, cover with a damp towel and leave it somewhere warm to rise. After about an hour it should have risen to more or less double its size.
Turn it out again onto the work surface, divide it into two and very lightly knead each of those pieces separately. Once they're smooth, leave them covered by the damp cloth again for fifteen minutes or so.
Now comes the most difficult part in my experience. Taking each piece separately, roll it into a long sausage. If you're making one large bread, each sausage should be about three feet long.
It can take some time - have patience!
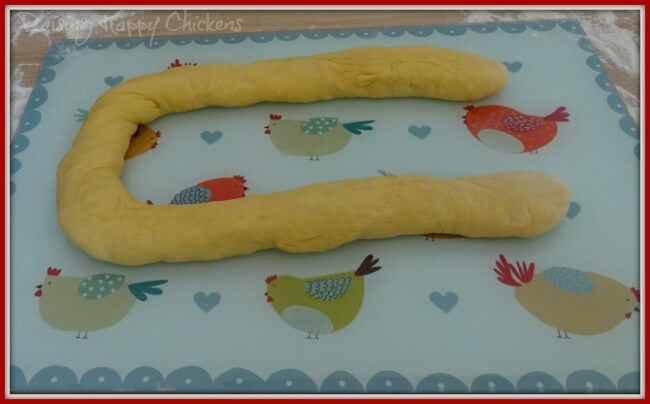
If you have difficulty getting the dough to roll, make your hands very slightly damp, and press down quite hard on the dough.
It takes some time, but you'll get there in the end!
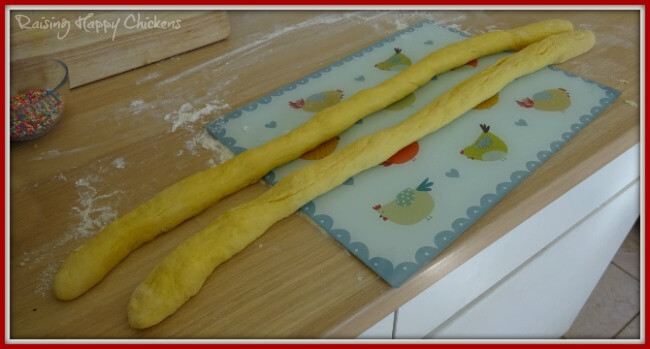
Take both pieces of dough and loosely 'plait' them together, crossing one sausage over the other until the whole length is plaited.
Taking the ends, press them together so that it forms a wreath shape. If you find it won't stick, use a little water brushed onto the ends.
At this point, grease a baking tray and set your wreath on it. It's easier to do this now than after you've put the eggs in, when it will become more difficult to handle.
Now take your eggs - uncooked - and snuggle them inside the braid. The two strands will separate quite easily so you can slip them in between.
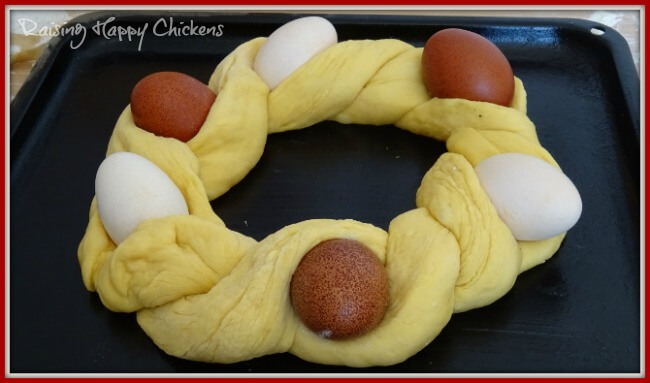
Once you're happy with the shape and the placement of the eggs, put the loaf somewhere warm and cover it with the damp cloth. Leave it for between 40 minutes and an hour, until it has risen again.
While it's rising, heat your oven to 300ºF (150ºC; gas mark 2).
Now you need to glaze your masterpiece. To do this, you can either melt 2 tablespoons of butter (about 25 grammes) and use that, or beat one egg in a bowl and use that. Both will make the bread shine nicely.
Once you've brushed your dough and the oven has heated up, put it into the oven. It should be well cooked within 25 minutes.
Note : Because of the 'braided' effect, Italian Easter bread can sometimes cook more quickly on the outside than the inside. To stop this happening you can make a tent of silver foil before cooking it, uncovering for the last ten minutes only.
You will need to cook it for slightly longer this way. Keep an eye on the oven - it is cooked when it's golden brown and still quite soft.
Finishing off your Italian Easter bread.
If you're using it, prepare the sugar glaze whilst the loaf is cooling. Heat water in a small saucepan; add the sugar and stir until it's dissolved.
Brush the glaze over the bread and, if using, sprinkle on the coloured sprinkles before it dries.
You can also use more melted butter rather than sugar, if you prefer - the sprinkles need to be added very quickly, before the butter hardens.
Some variations on the use of eggs.
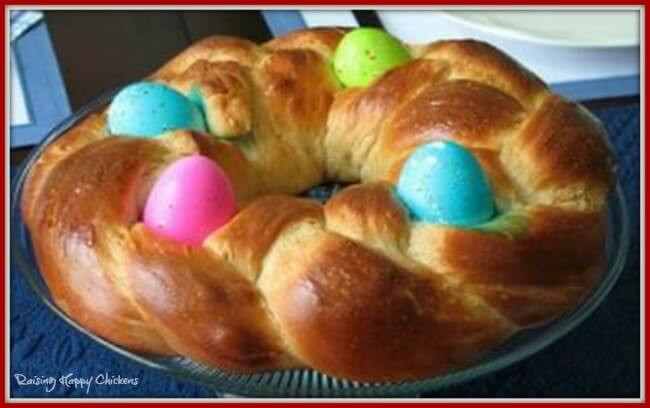
I prefer my Italian Easter bread with fresh eggs from my hens, leaving the natural colours to speak for themselves. However, it's possible to use more brightly coloured eggs which are particularly popular if you're catering for children.
Here's a couple of suggestions.
- Place stone eggs where the fresh would usually go; when the bread is baked, take away the stones, allow the bread to cool completely and add into the indentations some chocolate eggs still in their wrappings. Particularly popular with kids!
- Use eggs which you have previously coloured. Be careful with this though - the colour can 'bleed' into the dough during cooking.
Want more egg recipes?
Here are some I love, along with other eggy information.
- Home
- Egg recipes
- Easter bread
