- Home
- Before you incubate
- Choosing Eggs
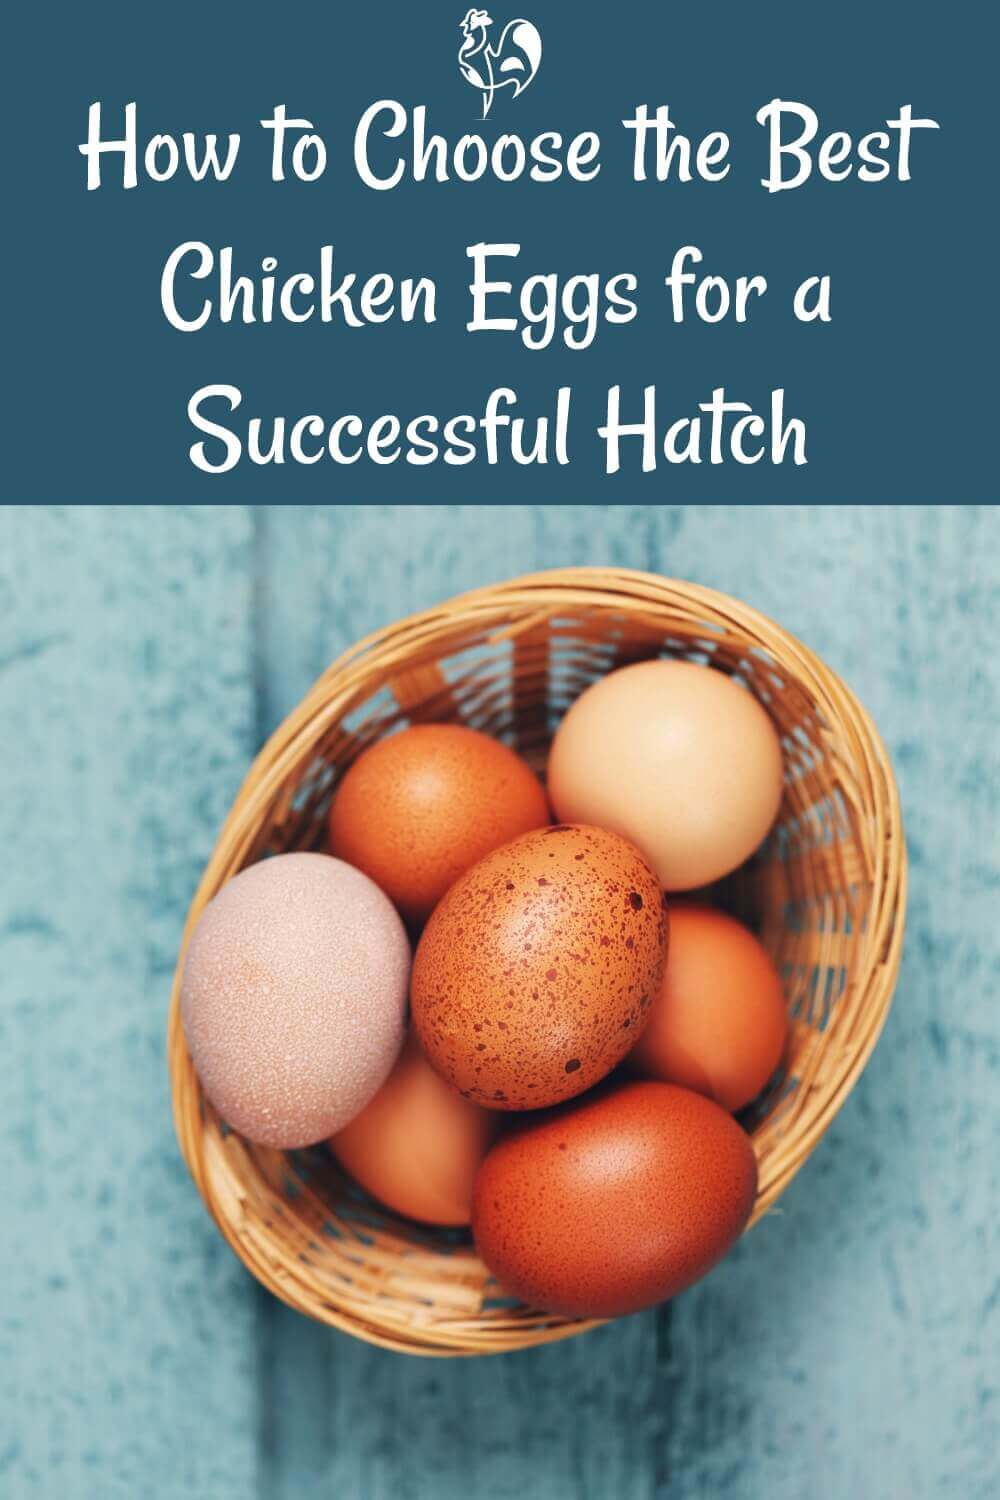
Four steps to choosing hatching eggs to give your chicks the best start in life.
So you're thinking of incubating your own chicks but not sure how to get the most successful hatch rates?
It all starts with the eggs.
Choosing high quality eggs to incubate is critical to getting a good hatch rate.
If you're using your own from your existing flock this won't be so much of a problem. You know your hens, you know they're well cared for and given optimal conditions so they lay the best eggs.
You can personally choose your eggs for hatching carefully.
Relying on someone else's produce, though, isn't always that easy.
Here are some pointers as to what you should look out for.
Step 1: check the source.
- If you're not choosing from your own hatching eggs, make sure you buy from a reliable source. Places like eBay or Craigslist are not always dependable - sellers could be sending anything. A local, independent breeder is ideal.
- If you're not choosing from your own hatching eggs, make sure you buy from a reliable source. Places like eBay or Craigslist are not always dependable - sellers could be sending anything. A local, independent breeder is ideal.
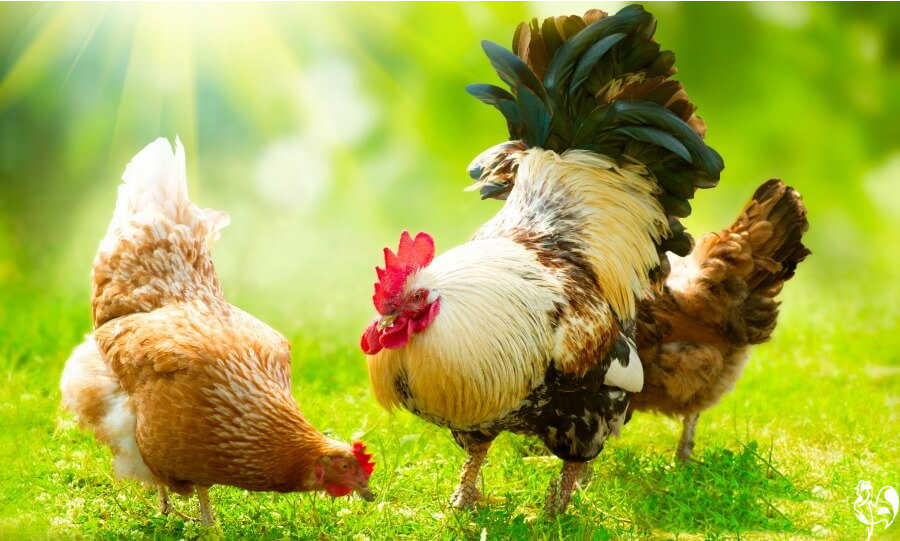
- If possible, try to see how the flock you're buying from is kept. Active, pasture-raised hens with their rooster (UK cockerel) in a healthy environment and fed a good diet will lay strong, clean, well-formed eggs which will have the best chance of hatching.
- Buying by post from a good breeder is more risky but sometimes the only way. Make sure the seller packages them well and labels them 'fragile'.
- If they're going to be sent to a post office depot, let staff at the depot know you're expecting them and ask them to call as soon as they arrive. Collect as soon as possible.
- Hatching eggs which have travelled need to be stored safely to rest for at least twelve hours before they're put into the incubator. Take them out of their packaging and store them with the pointed end facing downwards. Turn (by twisting) several times a day.
- When storing fertile hatching eggs, keep them cool but not cold, and relatively moist. For a far more detailed article about how to store, see this page.
Step 2: check the age.
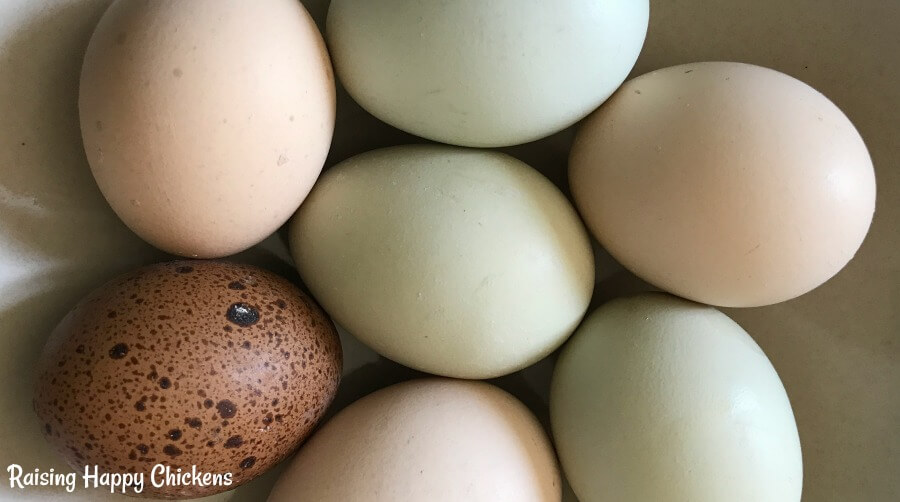 A clutch of my own fertile eggs. They should be incubated as soon as possible after laying.
- How old can an egg be and still successfully hatch? Ideally, they should be put into the incubator seven days or less after laying. Fertility starts to fall after that and hatch rates are therefore likely to be lower.
- However, I have successfully hatched eggs which were three weeks old. Hatch rates weren't high - about 45% - but it can be done if they're properly stored and candled before incubation to ensure best possible quality.
Step 3: check the eggs.
- Eggs sent by post often have a detached air cell caused by jolting en route. These have a poor hatch rate, although I've always found it worth trying. Candling a few days into incubation will show a saddle-shape at the blunt end.
Not sure what a detached air cell looks like? Watch as I candle one.
- When choosing from a group of eggs, pick those with a 'normal' shape. If it looks too long, it's rounded at both ends, it looks porous when candled or it's pitted, try to choose one with a better shape.
- One exception to this is the Marans egg. These tend to be rounded at both ends and are perfectly good for hatching.
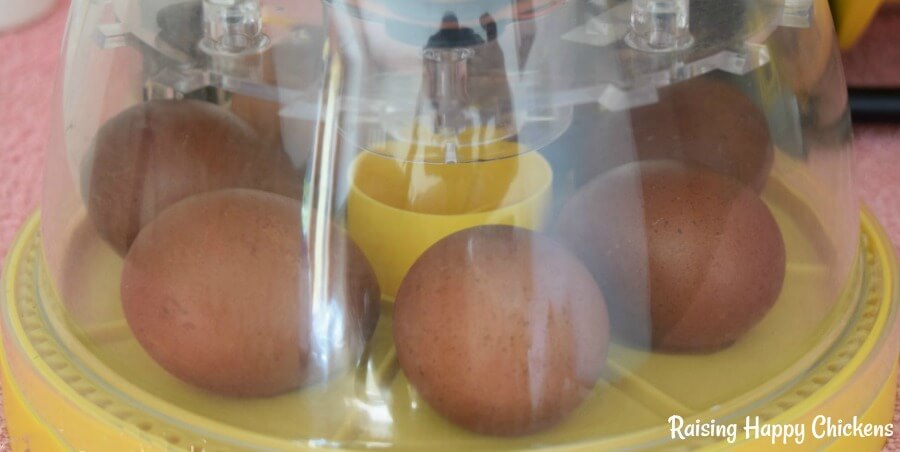 Black Copper Marans eggs in my incubator - hard to tell which end is which!
- Discard eggs with cracks, even if small. Don't try to fix them - they're unlikely to hatch and there's a danger that bacteria in the crack will contaminate the incubator.
- How to see cracks? Don't rely on the naked eye - you may miss some hairline fractures. The best way is to use a candling device or a bright light. Find out how to candle, here.
- Is the egg too porous? There's mixed advice about this. Some people automatically discard any with porous shells. Personally, I have successfully hatched some which have looked far too porous to survive. This was one of them.
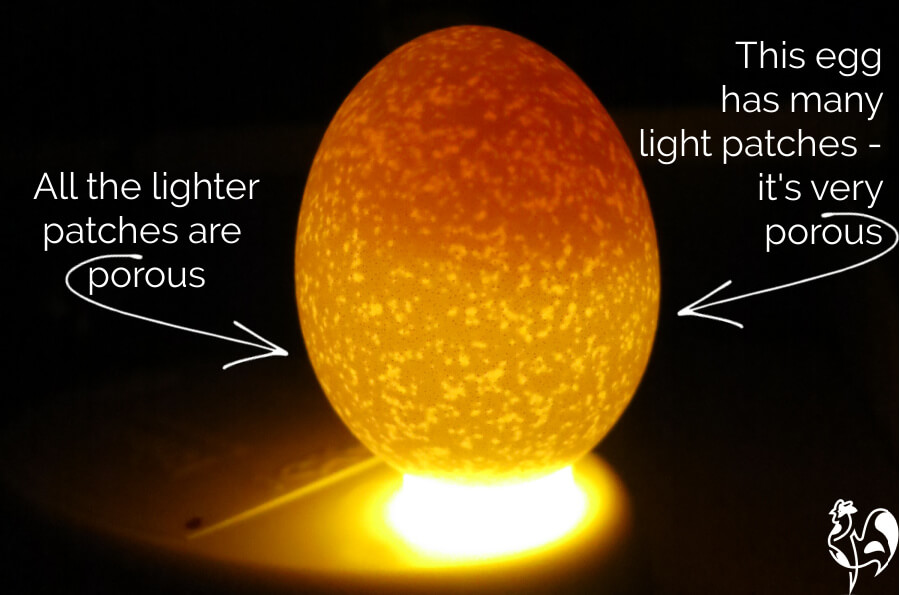 This Wyandotte egg was porous but nevertheless hatched a healthy chick.
- If the shell is porous, under a candling light it will look mottled. Slight mottling isn't unusual but something as porous as the egg below probably won't hatch (and this one didn't).
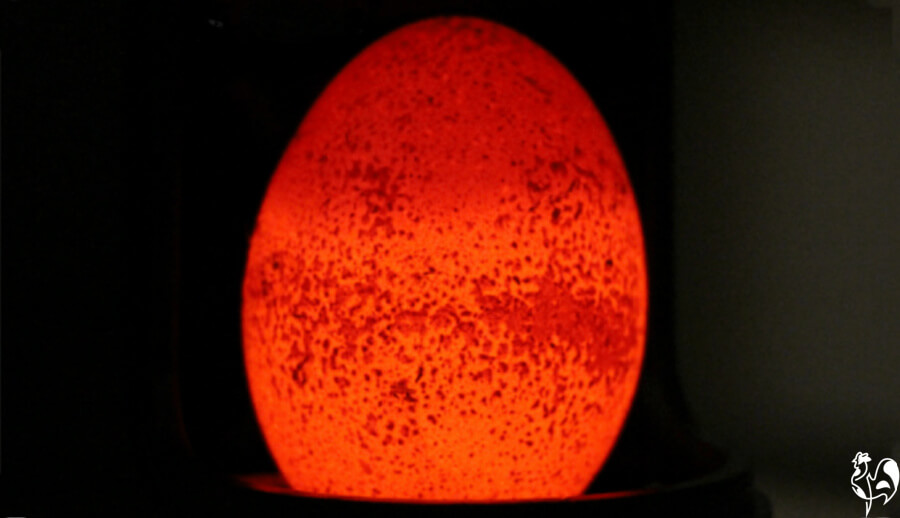 This egg was too porous to stand a chance of hatching.
Step 4: choose hatching eggs which are clean.
- Make sure when choosing your hatching eggs that they're as clean as possible. The problem with putting dirty eggs into the incubator is bacteria, which is potentially fatal for the growing embryos.
- There are various options for cleaning, depending on how much dirt there is. If possible, scrape it off with a fingernail. This leaves the 'bloom' on the outside of the shell intact, and that protects it from bacteria.
- If that isn't enough, try using dry sandpaper and very gently scraping the shell. The problem here is the danger of cracking, and the potential for rubbing the bacteria in the dirt into the shell rather than removing it.
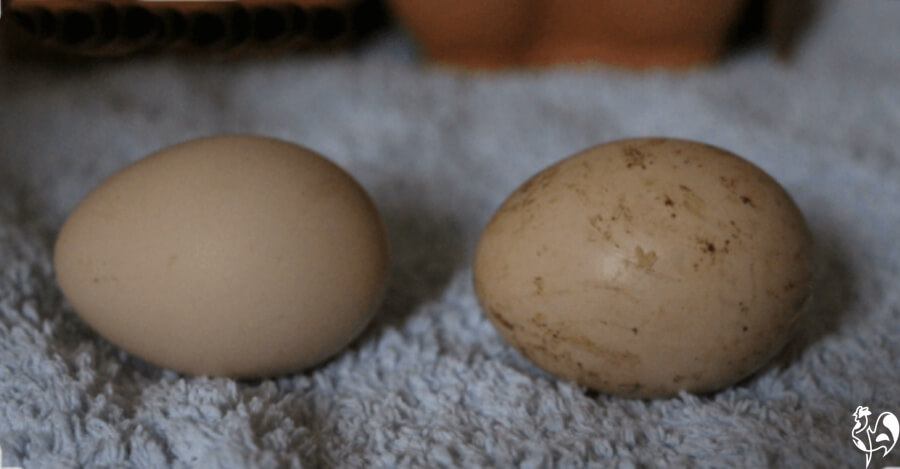 The egg on the right is too dirty to go into the incubator unless it's gently washed.
- If it still looks too dirty to put into the incubator, you have the option of gently washing it. Use either tepid water - not cold - or a special egg washing disinfectant. Some people use a diluted bleach solution.
- Personally, I don't like using bleach and have found that warm water generally does the job. It can remove the bloom from the shell, but better that than risking bacteria forming in the incubator.
All done? Then your hatching eggs are ready to go into the incubator!
Preparing Fertile Eggs for Hatching.
Need more information about how to store, transport and assess the quality of fertile chicken eggs?
This series of articles will take you to wherever you need to go, from before you buy to setting the eggs in your incubator!
Need more information about hatching and caring for baby chicks?
- Home
- Before you incubate
- Choosing Eggs
