- Home
- Just for fun
- Photos!
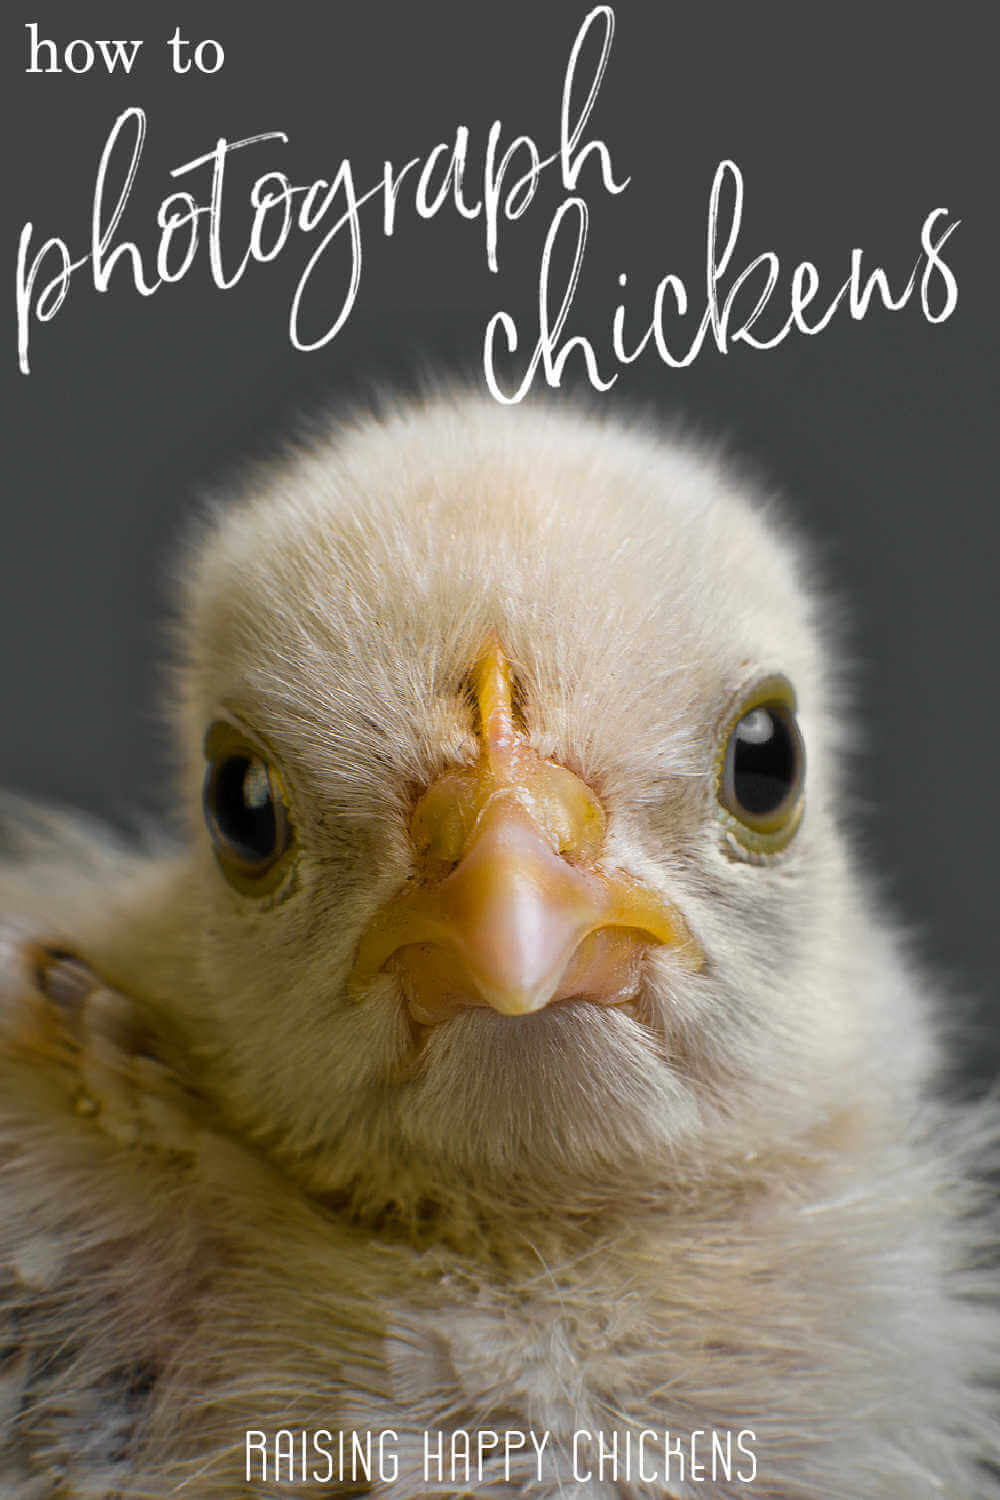
Chicken photography: how to take cute chicken pictures that reflect pride in your flock.
If you've ever tried to take a photo of a chicken, you'll know how frustrating it can be.
No sooner have you got your camera ready to click than they move. They scratch. They poop. They get distracted by a passing worm. They decide it's time to lay an egg.
Not even their whole body has to move. Sometimes it's just the head. Or the eye. One small move, and that perfect picture's lost.
But it doesn't have to be like that – and you don't need expensive equipment.
Modern technology means the days of sending rolls of film to be processed only to find not a single picture worth having are long gone.
In this article, we'll look at the different types of photo you may want to take with your chickens, and nine steps to the perfect photo, including tips I've learned over the years to get the best out of them.
Please note: I'm not a photographer. I have no idea about apertures and ISO numbers and white balance or any of that other professional stuff.
I just like taking photos of my own chickens, and I've learned some "how to" strategies over the years which I want to share with you.
This is a long, detailed article with a lot of photos.
If you want to jump to one particular section, use these links.
Step 1: Friendly chickens are the answer to a lot of problems.
The best photographs of chickens are taken with chickens who will stand (or sit) still – and preferably pose nicely.
That doesn't happen often, but it's far more likely to happen if they're used to you, and used to being handled.
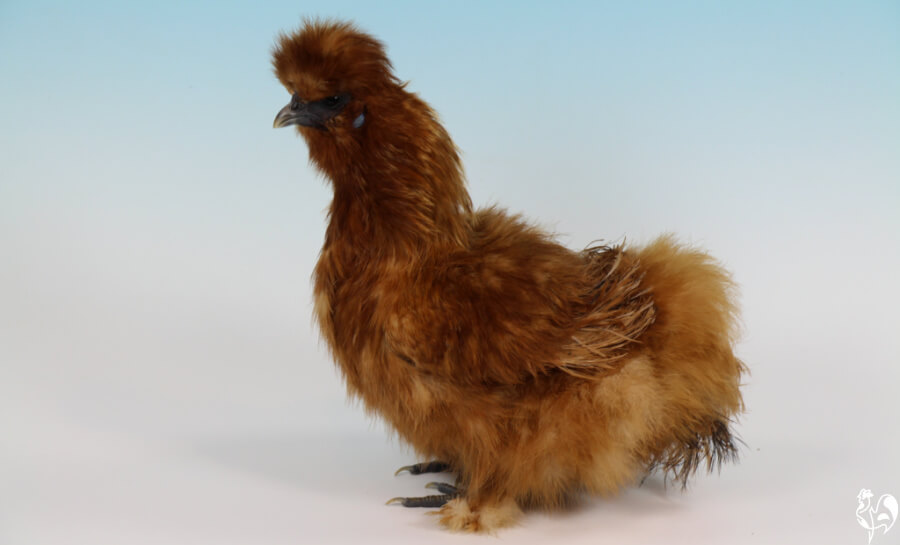
Show chickens are the best, in some ways. They're so used to being washed, dried, pampered, preened and handled by judges from a very young age, that by and large they will settle wherever they're placed.
I took this picture of a beautiful Champion Silkie at the UK's Poultry Show. She stood patiently for nearly ten minutes while her official portrait was taken!
My top tips about choosing the chicken you want to photograph.
- If you're able to choose the breed of chicken you want, do your homework. Look for a quiet breed who likes to be social. Silkies are the obvious choice, as are Red Stars, the Speckled Sussex, Orpingtons and Brahmas.
- Make friends with your chickens! Handle chicks as soon as they arrive. Sit with adults in their coop and run every day. If they're a bit unsure at first, wait patiently for them to come to you. Chickens are curious – they will do, sooner or later!
- If all else fails, use bribery! Most chickens love treats. Sprinkle a few mealworms wherever you want them to pose and they will at least head in the right general direction!
- Make sure the chicken you want to photograph looks reasonably well groomed! Smooth feathers using just your hands, or in the case of a breed like the Silkie you might even get away with using a very soft brush.
- I was taught by photographers I met at poultry shows to make sure the legs and feet are clean since the eye is always drawn to them. Not always possible with backyard chickens, specially if it's been raining!
Step 2: Decide what kind of photo you want to take.
There's a big difference between wanting to take a perfect photo of beautifully groomed and posed chickens at a poultry show, and taking fun pictures of your own flock's day-to-day antics.
Taking pictures of different chicken breeds.
By far the best place for this is a poultry show.
- There's generally at least one official photographer at poultry shows. It's well worth asking if you could observe as they set and up and take their photographs. I've found they're glad to share their expertise.
- I'd also suggest offering a gift. I took bottles of my own organic olive oil, and made a donation to their tin. The tips I learned were priceless.
- They also have all the professional equipment including lights, professional cameras, background and the expertise to know exactly how to place the chickens. So if they'll allow it, use their set-up to take some professional quality photographs.
- These are the official photographers of the UK's National Poultry Show hard at work. My thanks to Rupert Stephenson (left) and Tim Daniels (kneeling) of PoultryKeeper.com and Fancy Fowl Magazine for their kindness in allowing me to share their set-up.
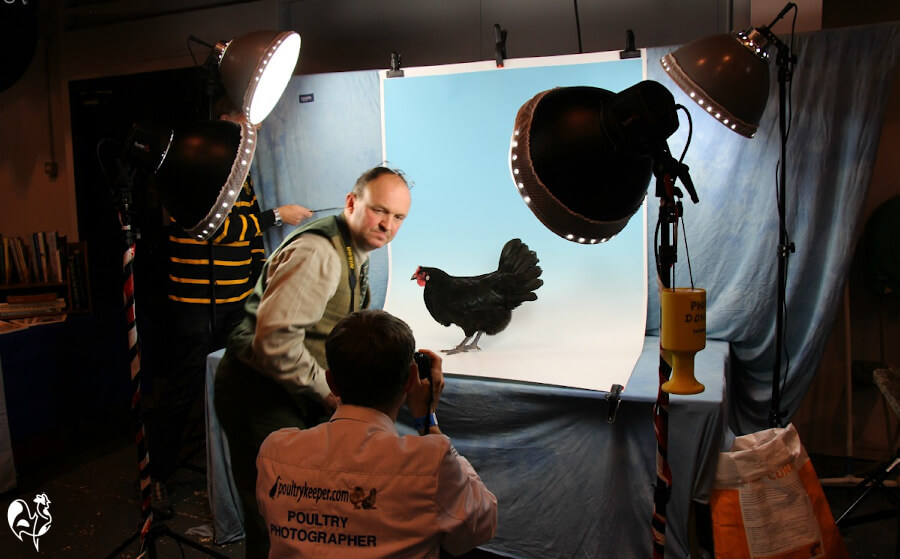 Rupert and Tim, the official photographers at work in the UK poultry show.
My top tips for great chicken photography at poultry shows.
- The photos you'll take at shows are very formal. Proud owners are very keen for their chickens to be shown in their best possible light, so they're carefully posed.
- If you want to take your own pics at shows, be aware that the light source will probably be difficult. Rooms are often fairly dark, and lit by fluorescent lights which are very bright and can make any subject look "washed out".
- Using flash won't work well. It can frighten the chickens, and the light at close range will not properly reflect colour. Try to take photos using natural light – near a window, for example.
- Try taking photos of chickens in cages by placing your camera lens right up against the wire. You can get a great view of a chicken's face that way.
I took this pic at a UK poultry show by placing my camera lens right up against the bars of the cage.
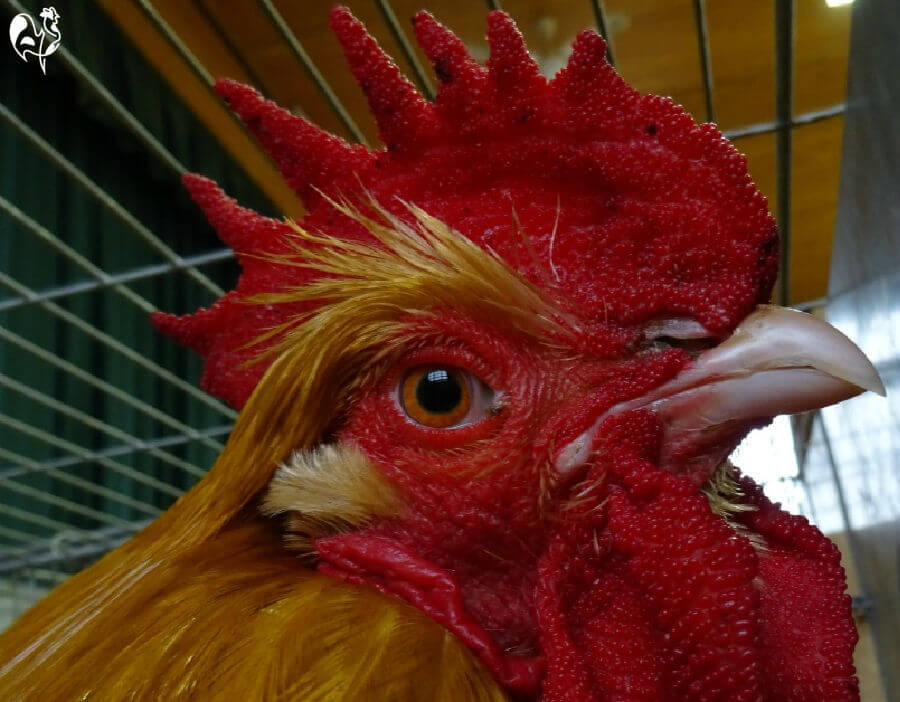
- Don't be afraid to ask poultry keepers if you could take a photo of their chickens. Most are very proud of their birds and will be only too glad to oblige.
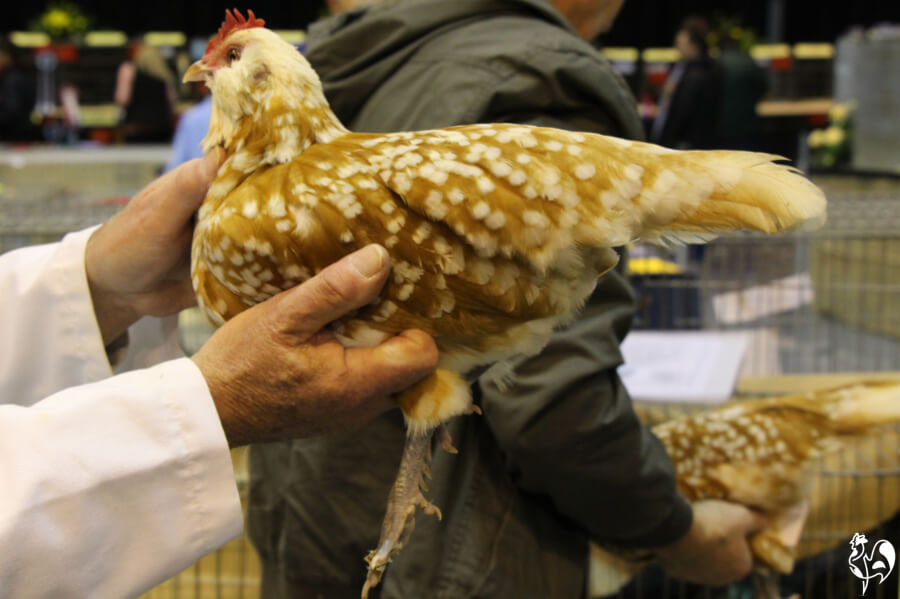 A chicken keeper holds his chicken for me to take a photo.
Taking photos for fun.
For most of us, the reason for taking pictures of chickens is simply because we love our own flock and like to have a record of exactly how amazing they are!
The remainder of this article covers how to take this kind of photo.
Step 3: Use the equipment you've got.
Links in this section are "affiliate links", which means that if you click and buy something, I earn a small commission at no extra cost to you.
If you want to set yourself up as a professional poultry photographer then of course, you need professional equipment including a good quality camera.
I do have an expensive Nikon D7500 camera complete with two interchangeable lenses. There's no doubt about it - it gives superb images. I use it mainly because it's excellent in low light, which makes it perfect for photographing and videos when I'm hatching.
I took this photo with that camera. It's sharply in focus and would enlarge well if I wanted it even poster sized.
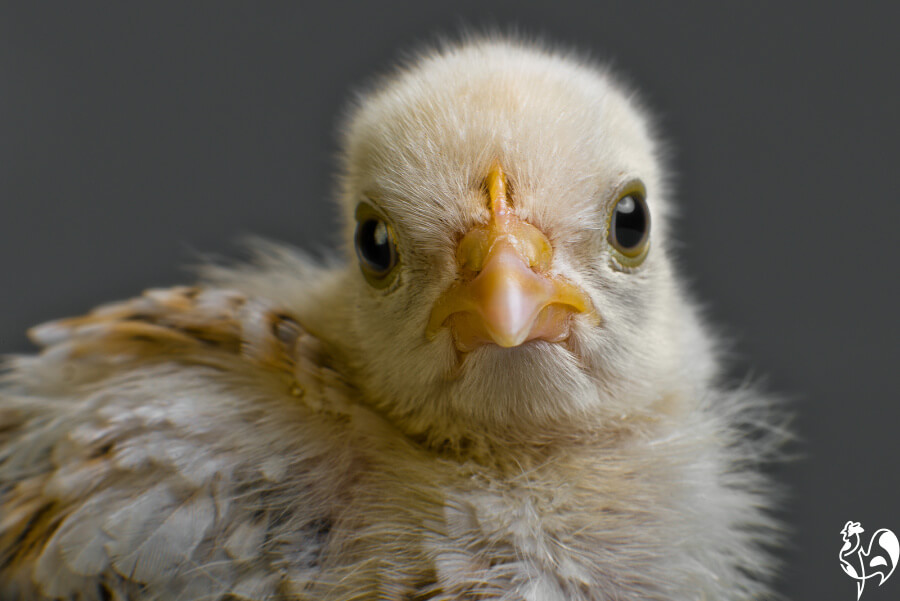
But truth to tell, it's very heavy, and it takes time to change lenses. That's fine for incubating - it stays set up on a tripod, and I have all the time in the world to change the lens! So it's not the camera I generally use for taking photos of my chickens.
For that, I use a much less expensive "point and shoot" camera - the Nikon Coolpix B600.
I get excellent photos from it, more than good enough for using on this website and for enlarging if I want larger, framed pics.
This photo of my Livestock Guardian Dog, Luce, was taken with that camera. Although it was from a distance of about 100metres and has been compressed (squished!) for use on the internet, it's still very sharp. The original would be fine to enlarge.
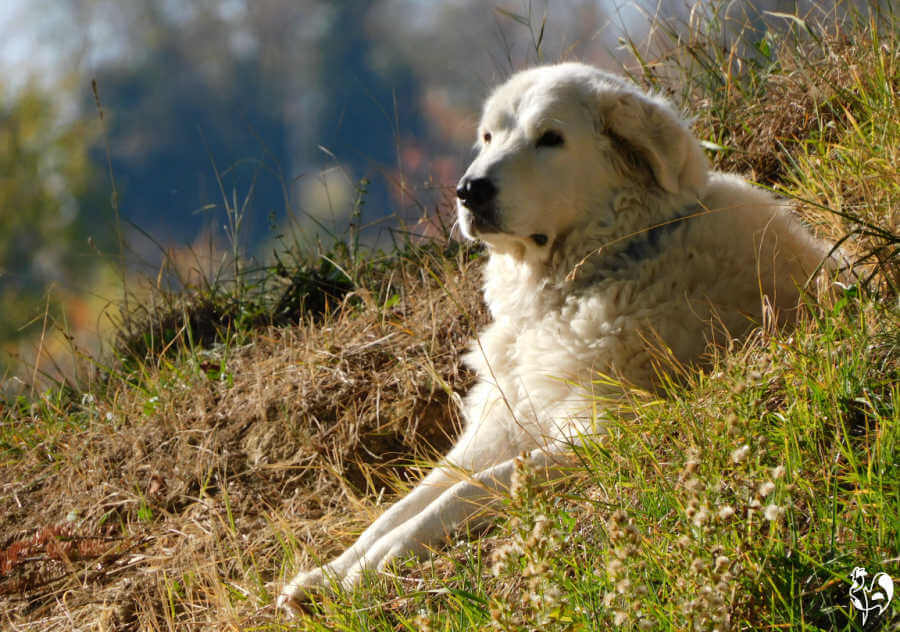 Luce likes making herself a den up high on the side of the valley to watch over her flock.
And for day-to-day use, for example when I just let my flock out in the mornings or go and sit in the run with them, I use my iPhone. It fits in my pocket, it's light, it's quick to use - and most cell phones now have excellent quality lenses. It's the best option for images on social media, for example.
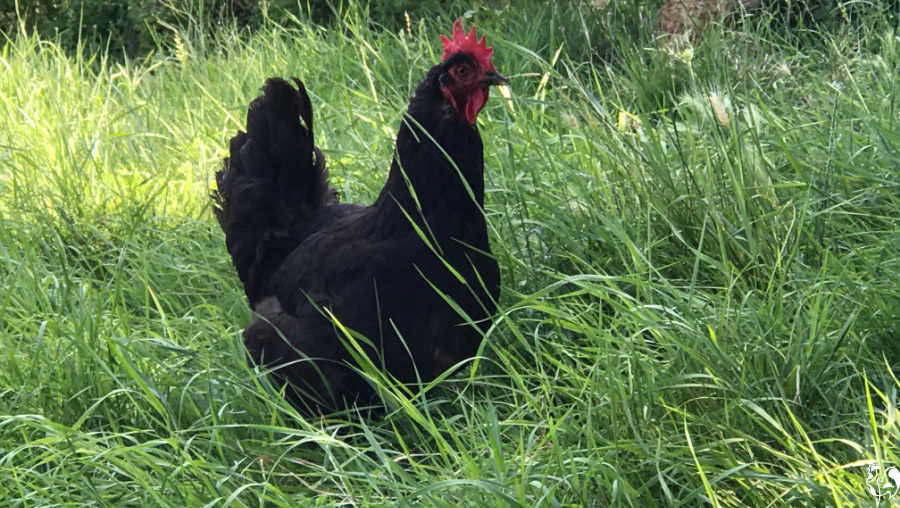
I took this photo of one of my Wyandotte hens with my iPhone. It's good enough quality for social media and even for a website, but wouldn't stay as focused as the other images if I tried to enlarge it.
My top tips for taking photos with whatever equipment you have.
- In your camera's settings, make sure you choose the largest image size (the largest number of pixels in the photo).
- Then, set the camera to "auto", unless you're an accomplished photographer. This means your images will be the best quality, without needing to fiddle with any dials while you're trying to take pictures.
- Using the "portrait" setting on either a digital camera or an iPhone will bring the chicken into focus, while softening the background. It can help if your background is particularly messy.
Step 4: How to take better chicken photos with fancy background and lighting (not really!).
Background.
Talking of messy backgrounds...
Although portrait mode (see section above) can be a good way of blurring the background, it won't hide everything. And a background full of poop does not make for an amazing photo!
It's always possible to edit photos afterwards, of course, but that involves more work and, sometimes, money.
Far better to be aware of where you're taking your photos at the time. A few glances round the area before you begin will save much heartache after!
My top tips about the background for taking photos.
- Take a look around before you start. Do you see objects which will distract from your chicken portrait - the kinds of things we need to have in our chicken run? Wheelbarrows, pitchforks, feeders... Remove them.
- Sometimes, items we use every day can make an interesting prop. It gives the image some context. If your subject can be enticed to sit on a wheelbarrow, for example, or on the edge of a charming fence, it can add to the photo's interest.
- I took this photo of my chickens "helping out" with our olive harvest one year! It's not a prize-winning photo, but it makes me smile - and that should be one of your aims.
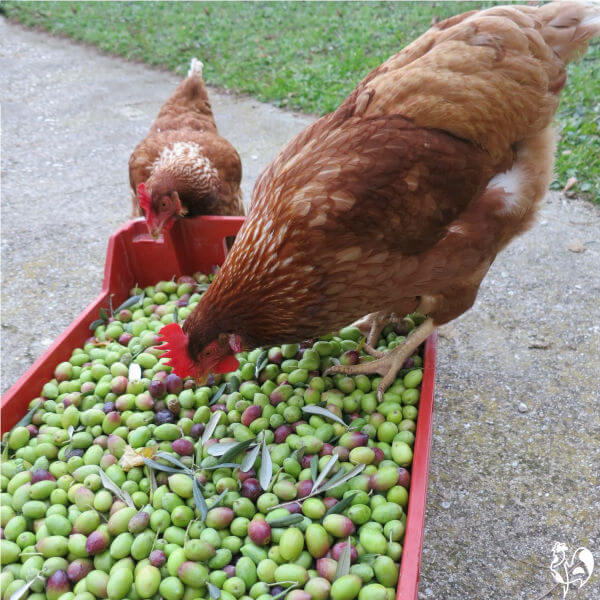 Chickens love to help out at olive harvest time!
- For portraits of chickens, it helps if your subject fills the frame. Otherwise, the background will distract from the chicken's face.
- Make sure there's nothing in the background to scare or frighten your chickens. Listen, as well as look, and try to take photographs when is all quiet.
My top tips about lighting.
- If you're taking photographs inside, avoid using flash if possible. It gives a very harsh light and will spook the chickens. Use natural light from a window instead.
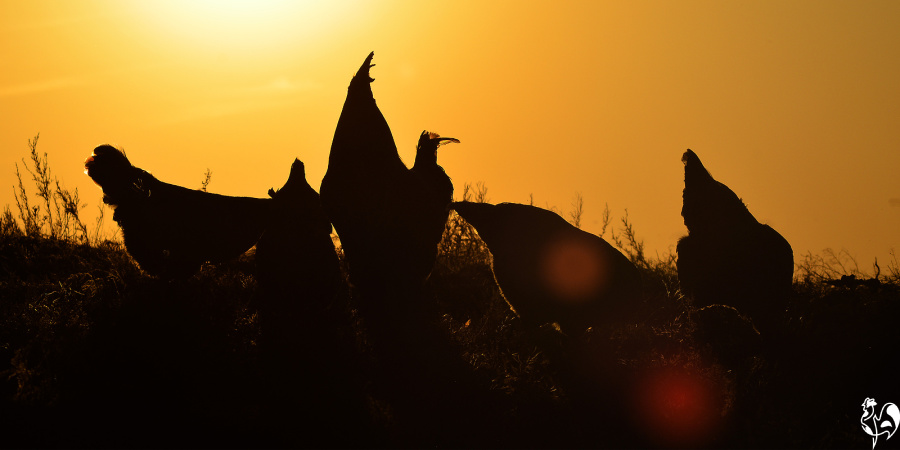
- Make sure you stand with your back to the sun. Taking photos into the light will make a silhouette of your chickens, and the colours will be washed out - although, as in the photo below, it can sometimes be used for dramatic effect.
- Early morning and early evening are great times for taking photos. The light is softer because of the angle of the sun and there will be fewer harsh shadows.
Step 5: How to photograph incubating and hatching.
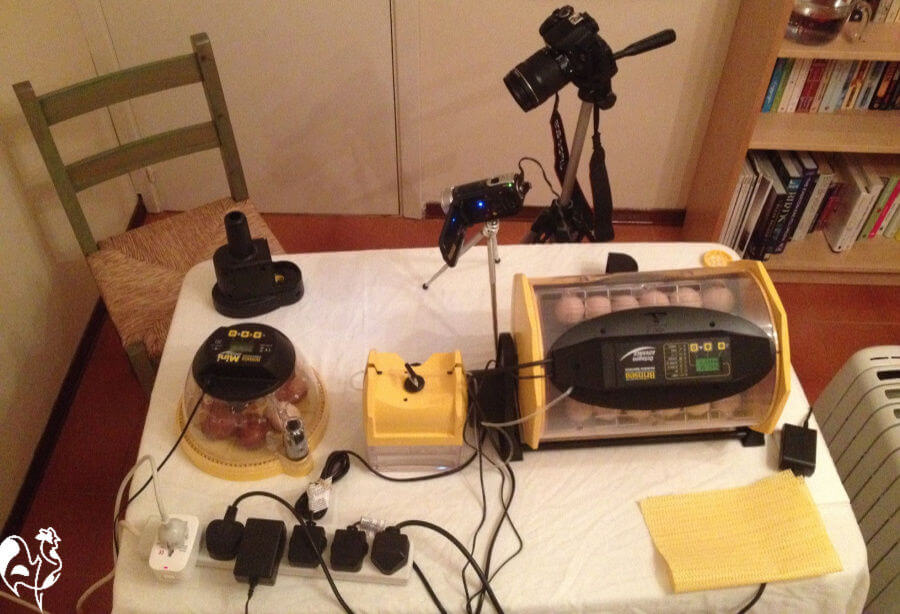 My incubating table, including a tripod holding my Nikon DSLR camera and a Sony camcorder on a table tripod.
Incubation is where I do use my big Nikon camera.
Candling the eggs as they develop has to be done in a dark room using a very focused light source, and a less expensive camera or mobile device isn't able to compensate for the low level of light.
Taking photos of hatching or just hatched chicks is incredibly rewarding, and exciting for kids. Here, the secret is not so much in your camera equipment as in the "viewability" of the incubator you use.
How to take photos of incubating and hatching: my top tips.
- To take photos of the egg as you candle it, use as complex a camera as you can afford, and set it to "night" or "low light" mode. You'll need to stand it on a tripod, otherwise you'll have a lot of blurry images.
- Use a candler with a very bright light. I have used Brinsea's candlers for years.
- I also take advantage of a simple editing programme to make the development of the egg even more obvious than in the original image.
- I enhanced this photo of an incubated egg at day 3 by playing around with exposure in the PicMonkey editing programme.

- In terms of hatching, again the equipment you use is critical. Not so much the camera - you'll be filming in daylight, so any of the cameras we've looked at above will be fine.
- But incubators differ in how much you can see once the eggs start to hatch. Some are small and become so crowded that taking photos is virtually impossible. When choosing an incubator, make sure you'll have enough viewing space!
- My favourite incubator of all time, for hatching up to 7 eggs, is Brinsea's smallest and least expensive: the Mini Advance. It's a little gem!
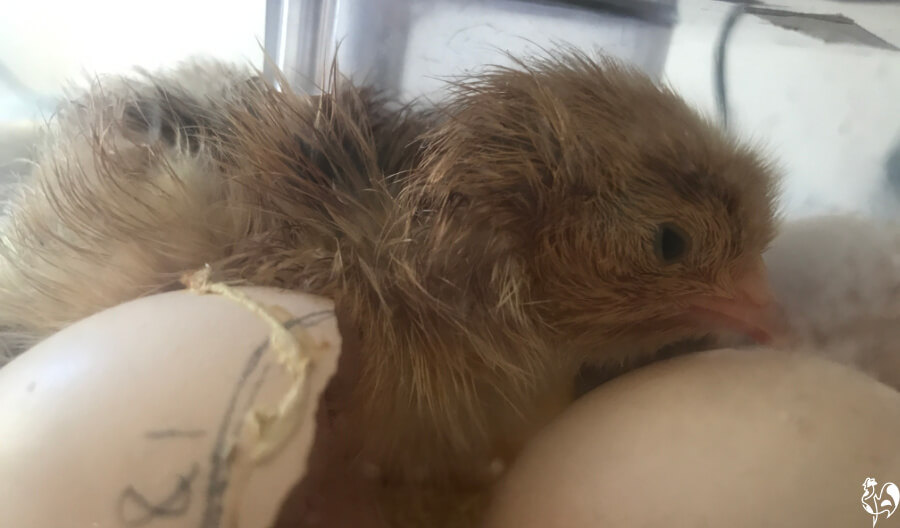
- I took this photo of a newly hatched chick having a rest post-hatch in the Mini Advance. Its high dome makes it possible to get up close and personal without needing to remove the lid. It's ideal to watch chicks hatch and dry off and kids love it, too!
Step 6: Photographing chicks.
Baby chicks have to be one of the most photogenic subjects ever! They also tend to be one of the most skittish and difficult to get a good image from.
My top tips for taking photos of baby chicks.
- If you've hatched your own, the brooder is an excellent background. The best images are when the camera is on the same level as the chicks, rather than taken from above where the level of detail isn't as interesting.
- If you have a brooder heat lamp, turn it off before you take photos. The light is too bright (and they can be dangerous - consider investing in a radiant heat source instead).
- Aim for pics of the chicks going about their daily business - eating, drinking, roosting - and try to capture their personalities. Chicks are by nature curious, and once they've got over the shock of having a camera pointed at them they'll naturally want to explore it. (And sometimes, you need a second person to help you get that shot!).
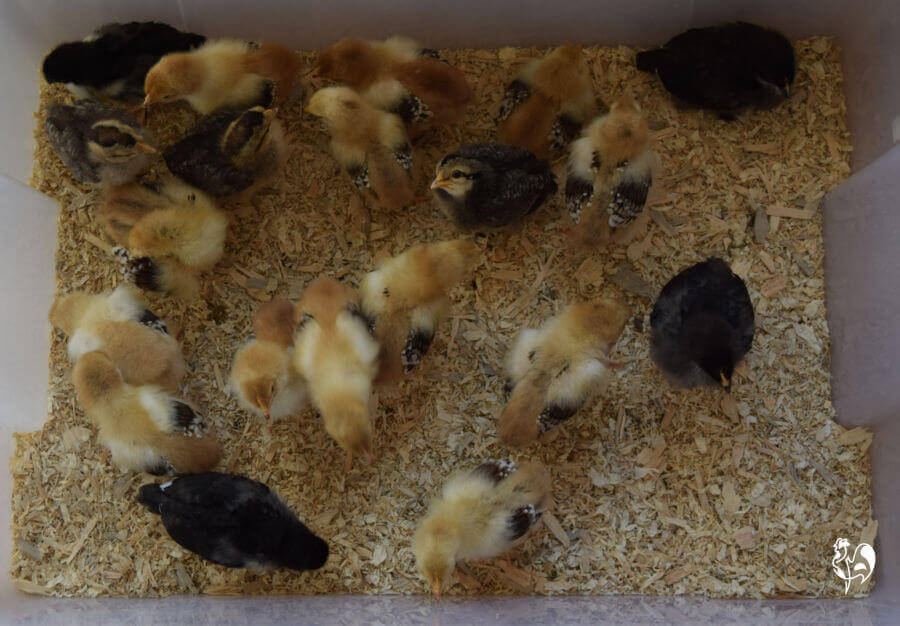
- I took the next photo from above my "stage 1" brooder which is a simple tote box. It's not a great photo, doesn't reflect the chicks' personalities. It's OK, but a bit bland (but I do love that chick in the top-middle, taking more notice than the others!).
- For the photo below, I was able to sit inside the "stage 2" brooder – a large puppy pen – and snap the chicks when they were quietly roosting under the Brinsea heat lamp. (This pic was taken with my Nikon Coolpix camera).
- You can see the difference in interest immediately.
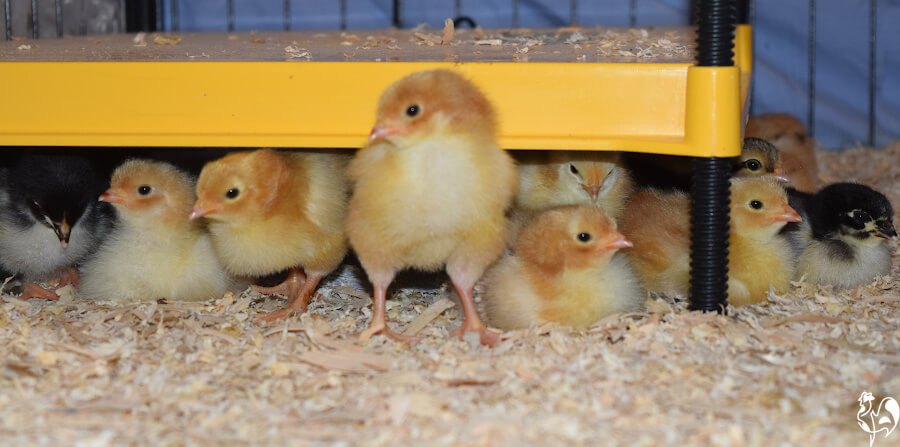
- If you can't physically get inside your brooder, try lowering the camera to chick eye level and taking some random shots. There will be a lot which are useless, but you'll eventually get that one which makes you go "yessss!" – even if it's not perfectly aligned.
- An alternative is to remove the chicks from the brooder one at a time and take individual photos. For this, a background helps to really make the chick stand out.
- The professional poultry photographers I had contact with at poultry shows always advised that a light blue background works for most chicks and adults. Something like this provides a smooth look and gets rid of hard lines.
- My issue with this is that it's slippy, so for young chicks may not be the best answer - there's a danger of splayed leg. I have used a number of different settings and have found a simple box, painted white, with plain white kitchen paper as flooring, works well. When the chicks poop all over it - as chicks will! - just change the paper.
- The photo below - one of my Light Sussex chicks and a Lemon Millefleur Sablepoot may have been better against a coloured background – the yellow Sussex chick disappears a bit. But for my own purposes, it's a fun pic – and yes, the Sablepoot turned out to be quite a character!
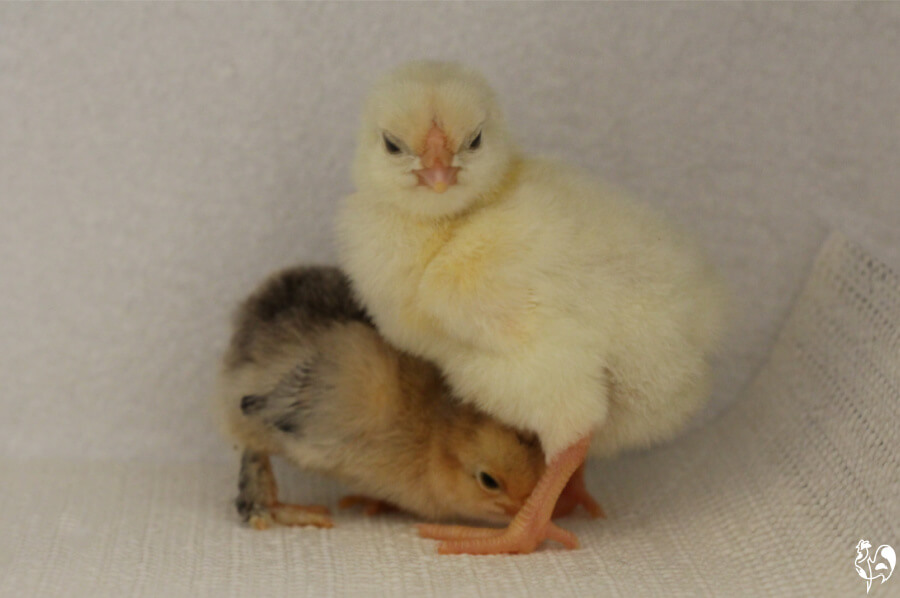 Putting two chicks together can add to the fun!
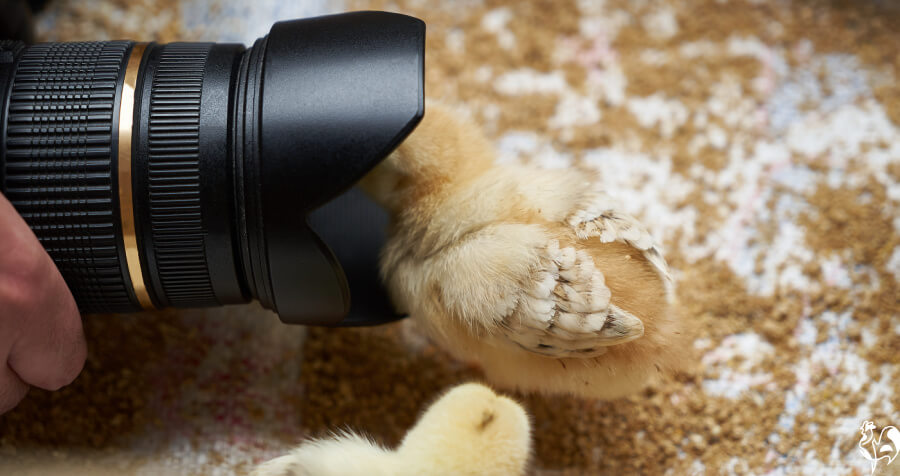
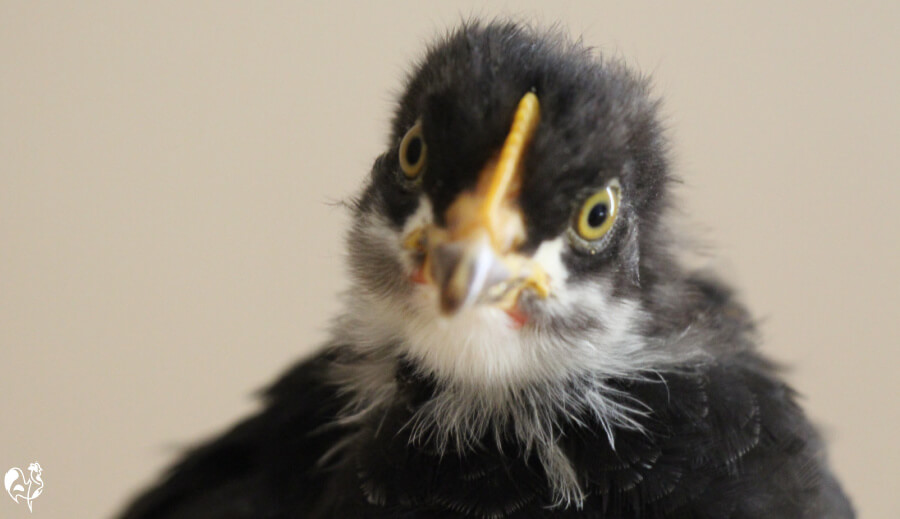
- Filling the frame with chick, or cropping the photo later, really makes the chick stand out. To get this chick's attention – he'd previously been intent on escaping the box! – I used a small squeaky toy. (Yes, the large comb at a young age meant he did turn out to be a male).
- Notice that the beak and comb are out of focus. I wanted to concentrate on the eyes (see the next section).
Step 7: Photographing adults.
Backyard adult chickens are much less easy to photograph than baby chicks or show birds. They're easily distracted, they can be skittish, they don't follow commands (or at least, none of mine ever have!).
But there are some tricks you can use to make sure you capture their personalities as they go about their day-to-day business.
How to take amazing photos of adult chickens: my top tips.
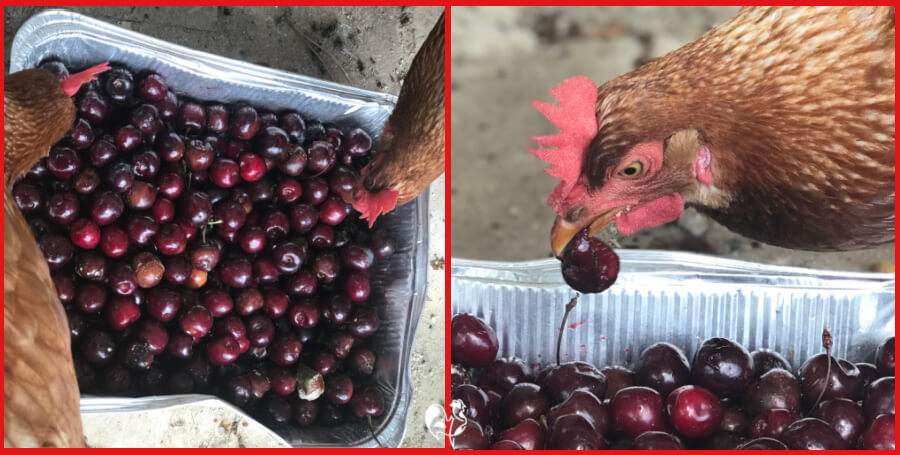
- The very first thing to do is to see the world from chicken-eye level. As with brooder pics, taking a photo from above is likely to be much less interesting. So, get down on your knees (I prefer sitting on the ground - easier on the joints!).
- The photo below shows what a difference this can make - on the left, a forgettable picture of cherries; on the right, one off my greedy Red Stars making off with a favoured cherry!
- Decide what kind of photo you want: head portrait, full body, or a whole scene. When thinking about this, consider the chicken itself. For example, taking a photo of my Sablepoot's head only would miss his beautiful markings and those amazing leg feathers.
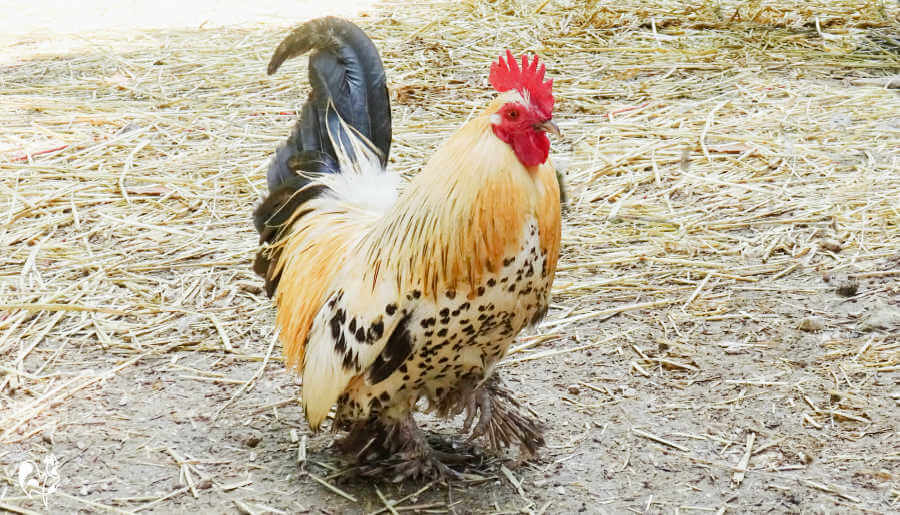 Bono the Sablepoot - better as a full body shot.
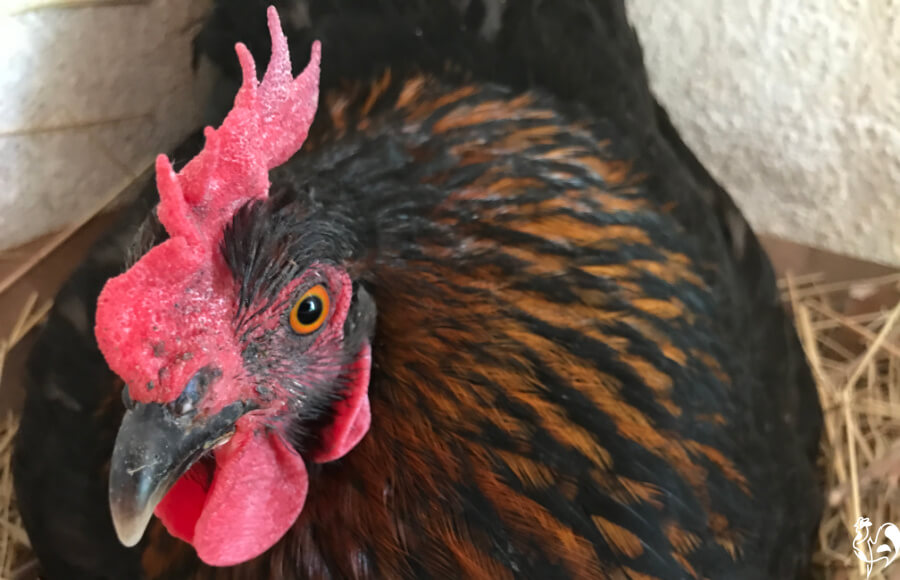
- If you're going for a photo of the chicken's face, make sure you focus on the eyes. A photo of a hen with her eyelid closed isn't great, but more importantly the eyes capture the personality.
- This photo (which was taken with my iPhone 7S) is one of my Black Copper Marans hens. She was broody and giving me a definite "stink-eye"!
- If your chickens are really too skittish to stay in one place, think about getting a camera with a Zoom lens. It doesn't have to be massively expensive – my Nikon Coolpix has a good Zoom which takes very clear photos even at a considerable distance - see the photo above for an example.
- Or, if you have a chain link fence, stay outside the run and (as with the show photo above) place your lens against the fence. Chickens will quite often come over to see what's going on, allowing you to take a good photo without being inside.
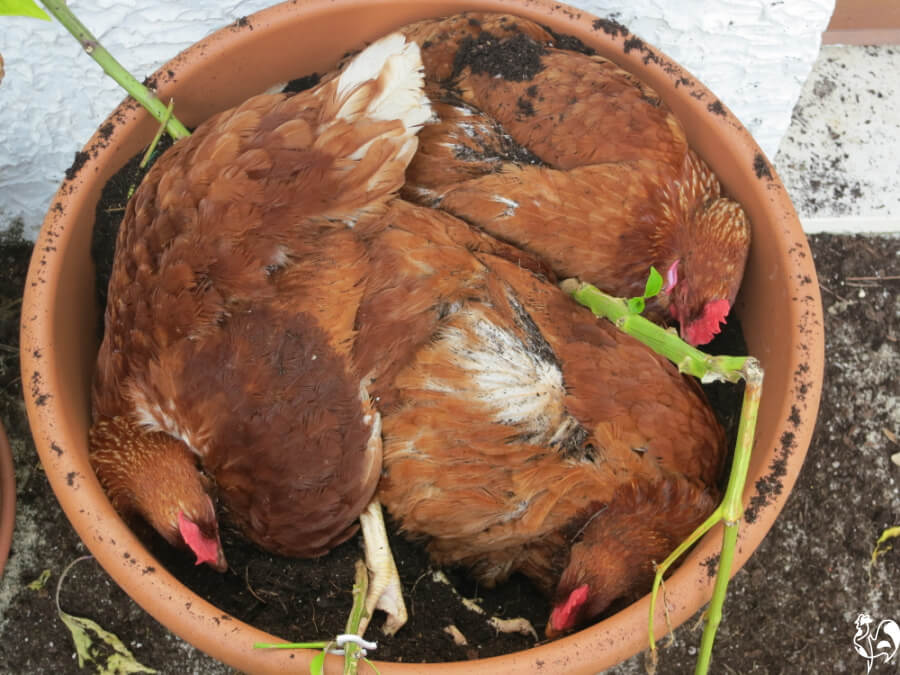
- Taking a group photo can be frustrating. Chickens are never still, so some will be out of focus or blurred while others are clear. One point at which a few will all be in the same place and relatively still is dust-bathing time on a hot day.
- Again, look for some characterful photos of groups like this of three of my Red Stars, dustbathing in what used to be a pretty pot of geraniums!
Step 8: Use sports mode or video stills.
Photos of chickens can be very frustrating. They tend to move around a lot, and although they can be tempted with a tasty mealworm or two, pecking at them means they're still moving.
Luckily, the days of sending a roll of film off to be developed, only to discover that not one of them worked out well have long gone. Digital photography means we can take any number of pics and choose to keep only the best.
We just need patience, as I learned when I tried to take just one decent photo of rescue chicken Claudia one morning (and this was just a few of those I took before getting "the one"!).
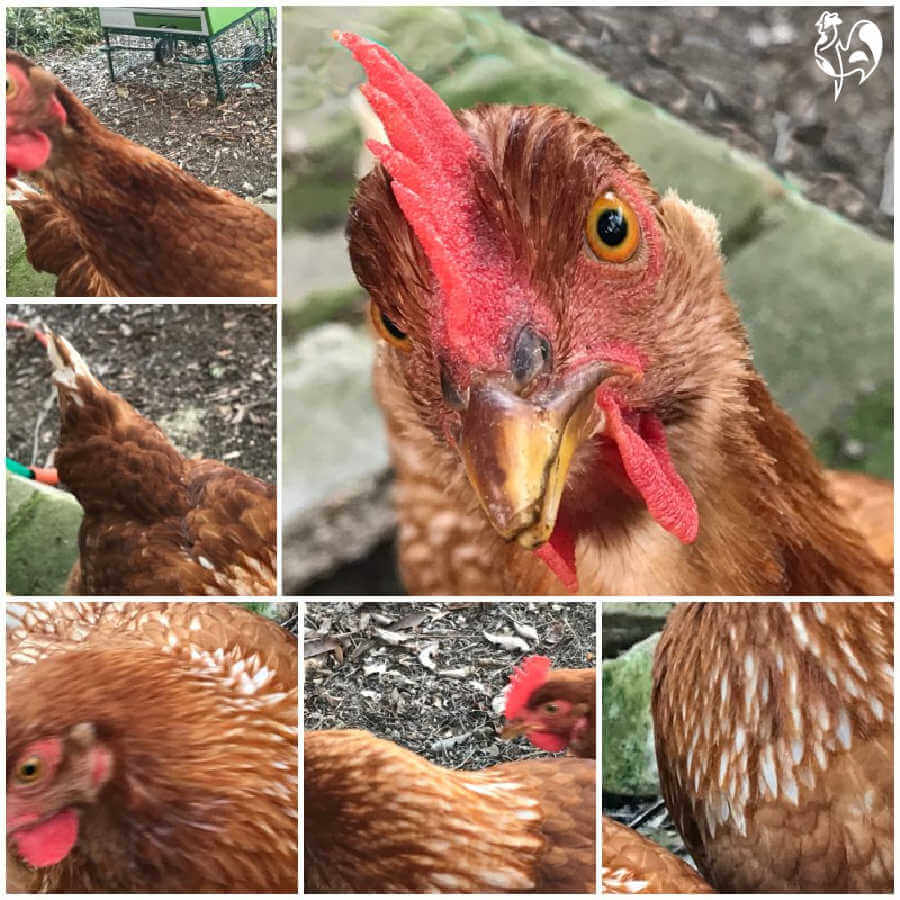 Trying to take one decent photo of Claudia chicken took a while!
There are ways of setting your camera to help with this, too.
My general tips for taking one amazing photo of your chickens!
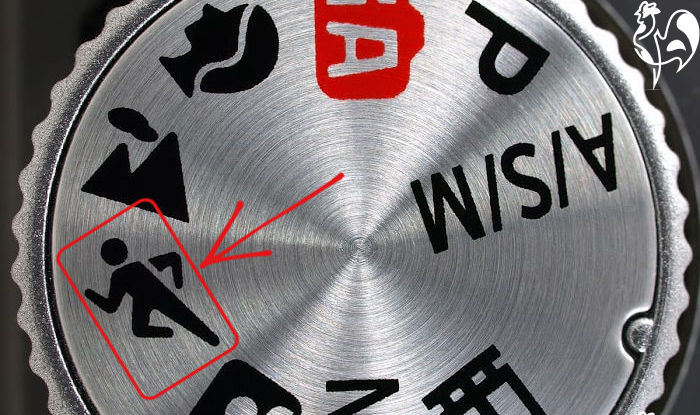
- Most cameras and mobile devices have a sports or "burst" mode. Using it will take dozens of photographs, one after another. So if your chickens always seem to have their eyes closed when you take their photos, try using this instead off the usual one photo. At least one of them is likely to have an open-eyed chicken!
- Not many people know that smartphones have this option, and it's so easy to use once you know how! Simply keep the shutter button pressed down rather than pressing and releasing.
- On a camera, look for the sports icon...
- Taking a photo from a video is another option. You'll need a simple editing programme (I use Camtasia, which has a free version). Simply run the video until you find a scene you like. Crop the image from it.
Step 9: Editing.
Throughout this article, I've talked about editing photos. It can help solve a multitude of problems - removing unwanted areas or items, changing the exposure or contrast, and if you're sharing your photos on the internet, adding your own logo.
I use a programme called PicMonkey, which is pretty simple to use. There used to be a free version, but it now costs $7.99 per month.
I'll sum up the most critical points about editing.
My top tips for editing photos of your chickens.
- Crop the photo if there's unsightly things in the background.
- Also crop close to the chicken so that the viewer's eyes are drawn to the subject, rather than having to search for it. Too much going on in the background draws the eye away from the story your photograph is aiming to tell.
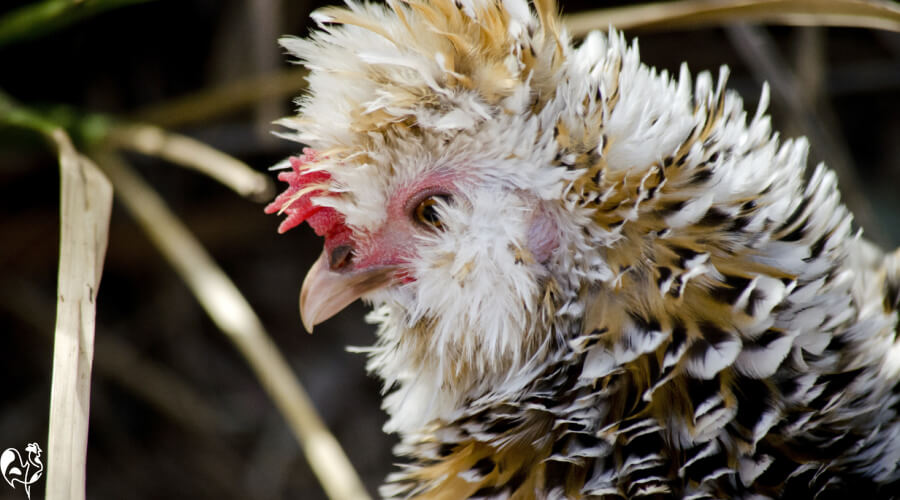
- Many mobile device apps have an editing facility within them - Instagram, for example, allows you to crop images on screen.
- There are also some free apps for mobile devices: the one I use most is called Typorama which allows you both to crop and to add text and a logo.
And finally...
Remember the reason you're taking photos of your chickens: because you're proud of them, whether they're a beautiful champion show chicken, or an "ordinary"backyard chicken.
It takes a lot of patience and some good luck to take a good photo of a chicken. Remember how spooked they can get with anything new or unusual, and give them time to settle.
And if you find yourself growing impatient or frustrated, leave the area and try again on another day.
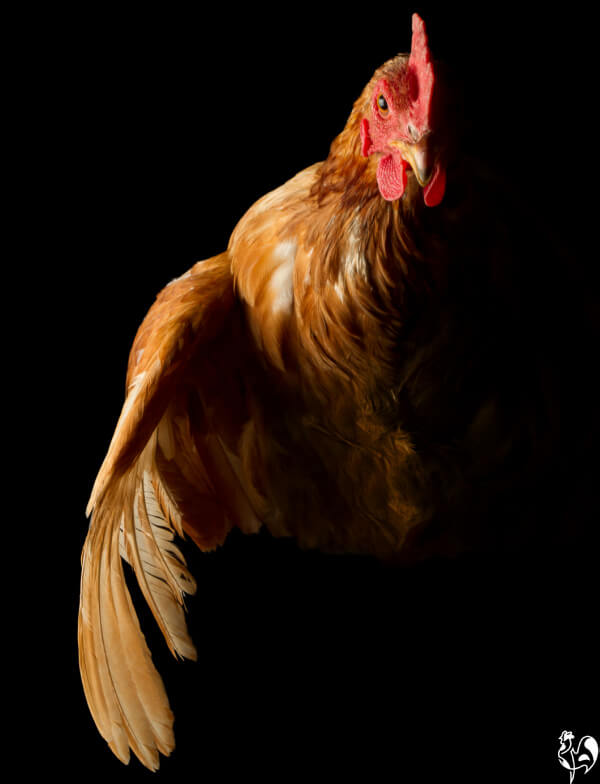 A professional photographer will balance light and structure.
If you love professional photographs of chickens...
Make sure to check out the chicken calendar I buy for myself every year.
Every year without fail, it contains the most amazing photographs, and studying them can help give you ideas for taking your own.
You'll find my review of it updated every year - I tend to buy it early, usually in October, as it sells out every year.
Read my review and see some of the photos, here.
If you liked this, you'll love these!
- Home
- Just for fun
- Photos!
