- Home
- Chicks in the Brooder
- Week 1
Chickens in the brooder: week 1.
So you've had a successful hatch - but now what?
Let's look at what's happening in the brooder during week 1, and what it tells us about how to care for our baby chicks.
This article covers the following areas. Click on any of these links to go straight to that part. If you're new to brooding chicks, I'd advise reading the whole article.
An important reminder : spend time with your chicks.
It's really, really important during the first couple of weeks after hatch to spend time with your little flock.
Why?
Problems don't end with hatching. Baby chicks are prone to problems. Generally speaking those problems can be dealt with successfully, but it depends on them being spotted early.
Get to know your chicks and you'll be able to head problems off before they become more serious.
My brooder is actually big enough for me to sit in. That makes sure the chicks get used to me : my presence and my voice in particular - and that they associate me with good things, like food.
This will make it much easier as they grow to be able to pick them up and check them for problems.
Preparing your brooder.
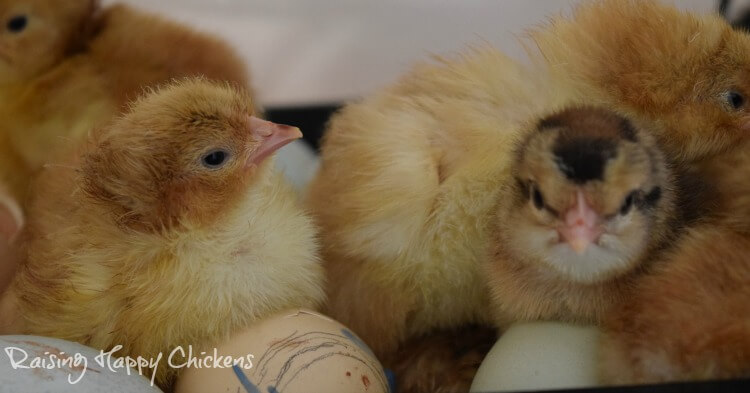 These chicks need their brooder now - it's getting crowded in the incubator!
This is really something you need to do during the last couple of days of hatching, while the eggs are in lockdown and you don't have much to do.
You'll need a warm place, without draughts, with a heat source and a non-slip surface. If you need more detailed information about how to set your brooder up, take a look at this page.
Initially you won't need food, because the chicks can survive for up to 72 hours on the yolk they absorbed just before hatch. Having said that, I always have it available.
You will need a source of clean, fresh water, too. This article goes into detail about the possibilities.
When should chickens be transferred into the brooder?
This page has a list of possible scenarios as to when and how chicks should be transferred from incubator to brooder.
One word of warning - and in this, I speak from personal experience.
Do not leave chicks in the incubator for any longer than absolutely necessary.
They should be "fluffed up", and it's true that you should try to avoid opening the incubator as little as possible while you have other eggs waiting to hatch - especially if they have already pipped.
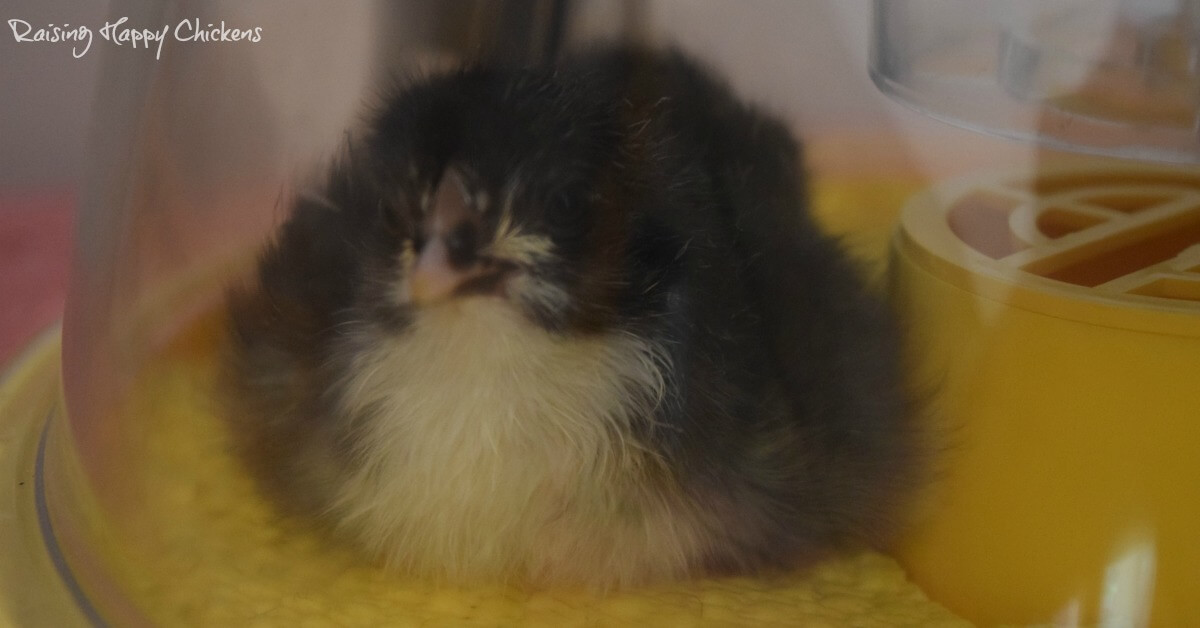 This chick is all fluffed up and ready to go!
But chicks can't control their temperature. Staying in a hot incubator can dehydrate them, and dehydration will kill a baby chick.
So if you see a chick "gasping" - opening and closing its beak - take it out of the incubator and offer it water straight away.
I learned this by hard experience. A perfectly healthy Marans chick died, because I didn't pay enough attention. All we can do is learn from our mistakes and move on - but it's heartbreaking.
Don't let that happen to you.
The start of week 1 : What do chicks new to the brooder need?
For very detailed information about bedding in the brooder, click here.
The answer to that is, very little.
A non-slip surface is critical, as are warmth, water and food. Let's look at each in turn.
Non-slip surface : Begin the week with a covering which keeps your chicks legs from slipping. A rubber-based shelf liner is ideal - it's what I use. Place that in the bottom of the brooder and use paper towel (such as kitchen paper) to cover it - you'll discover that chicks poop. A lot!
Prefer to watch a video? Here's my recording of the very first day in the brooder with my tiny chicks.
Enjoy!
Baby chicks and warmth.
We've already talked about making sure your chickens don't dehydrate from too much heat in the incubator. It's also important to make sure your chicks don't chill.
Baby chickens are not able to control their temperature until they are well feathered out, so it's very important to make sure they have somewhere to keep warm.
Temperatures this week should be around 35ºC, 99ºF. For more specific information about the right temperature for baby chicks and how to make sure it's constant, see this page.
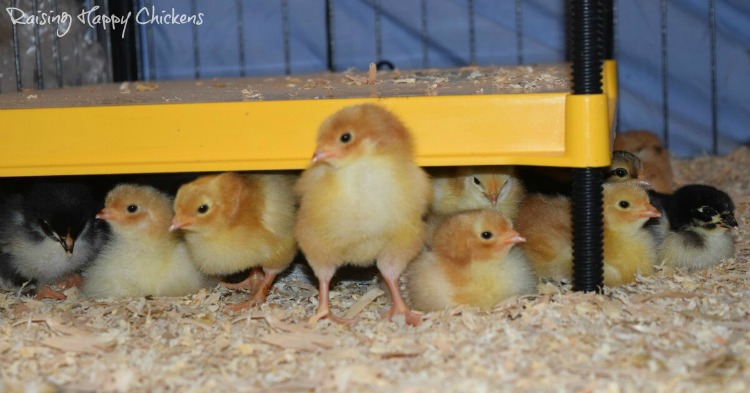
You'll find that in the first few days, the chicks will spend a long time dozing under your heat source. Don't worry - that's exactly what they should be doing.
Clean water and the brooder.
As soon as you introduce chicks into the brooder, dip their beaks into some fresh water. They understand very quickly that this is where they need to go to keep themselves hydrated.
I use an ingenious product called "Brooder Bottle Caps" from The Chicken Fountain. These little caps are ingenious. They screw onto water or soft drink (soda) bottles, so they're very inexpensive. All it takes is a hole in the bottom of the bottle to allow the water to drip. Then, take it and hang over the brooder within reach of your chicks.
They are a great way to keep water always fresh, and they also avoid the anxiety that your chicks will fall into a water bowl and drown. It happens.
If you're interested in buying them, use this link. Frank, who designed them and owns the Chicken Fountain website, will ship all over the world. Mine came all the way from the US to Italy, and I wouldn't be without them.
(They're also very useful if you ever have to isolate a chicken because of illness or bullying).
Baby chicks and what to feed them.
Make sure you're feeding your chicks with a feed made especially for new hatchlings. Feed for adults is not what they need - it contains too much
There's more detailed information about chick feed at this link.
When the chicks first go into the brooder, drop some grains of food onto the paper towel. The noise of the food dropping will encourage the chicks to eat - it's what a mother hen does.
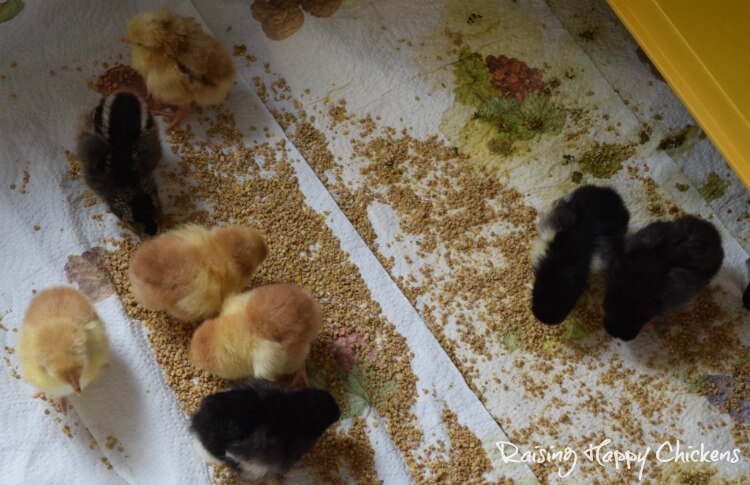 Sprinkling the feed on the paper will attract the chicks' curiosity.
The middle of week 1 : Does anything need changing?
Feeders.
By the middle of the week, introduce a feeder into the brooder. Keep dropping the feed on the floor, but leave the feeder sitting there for the chicks to investigate.
Chickens by nature are very timid and don't like change. They will think the feeder is there to kill them, at first! But they will soon get used to it.
Don't worry if they don't use it initially. They will after a day or so, once it's an accepted part of their little lives.
I have a very detailed article about the different types of feeder and which works best as your chicks grow. Find it here..
Bedding.
By about day 4, you need to consider changing the bedding for your chicks from plain paper.
Chicks' feet need to become used to more than a flat surface. As they grow older, they'll want to roost and exercising their 'clutch' reflex as soon as possible will help them later.
By this time, they've learned what their food looks and smells like, so there is no problem about using a feeder.
I use pine wood shavings which I buy from a local shop. It's available online from Amazon (inevitably!) : in the US at this link and in the UK at this one.
The advantage of this type of bedding is that, as well as absorbing the poop well, it keeps the smell down.
Major disadvantage? Chicks kick it everywhere! Be prepared to sweep your brooder-room clean at least twice each day!
The end of week 1 : What should we be doing now?
Here's another video for you ...
A place to roost.
Of course, we need to keep doing what we've been doing: providing warmth, food and water.
But now, we can begin adding a little fun into out chicks' lives.
Use a piece of wood to give your chicks a place to 'roost'. I use a dried branch from the garden. Don't place it too high. At this stage, either on the ground or very slightly raised off it is enough. Chicks trying to jump six inches from a roost may damage their still weak legs.
They'll go back under their heat source at night, but during the day they'll enjoy playing around their "tree" - once they realise it's not going to kill them!
And that's it!
By the end of this week your chicks will be growing already, and you may be surprised to see they're already developing wing feathers.
Next week, we'll see them beginning to try using those wings - so enjoy the peace of week 1 in the chicken brooder while you can!
If you've found this article helpful, you might like these too.
- Home
- Chicks in the Brooder
- Week 1
